
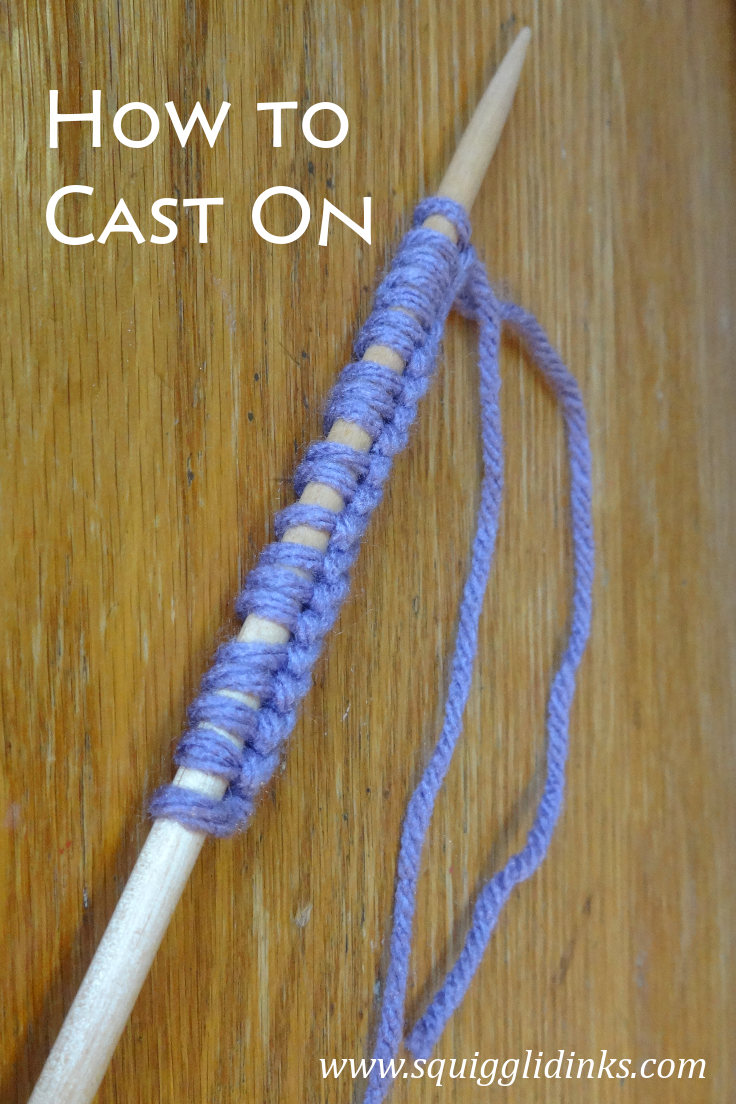
You can’t knit anything without stitches on your needles. So let’s start by learning how to put those stitches on your needles, or how to cast on.
This method of casting on is called the “long tail” cast on method. It’s the one I use the most often and works for just about any kind of project.
In this method, the tail, or end of the yarn, is used to cast on as well as the working yarn (the yarn attached to the skein/ball). The length of the tail needed to cast on is dependent on the number of stitches required for the project. You’ll also want to leave about 6 inches at the end of the tail so that you can weave it in at the end of the project.
It takes some trial and error to figure out exactly how much tail to leave: don’t be surprised or upset if there are times you need to take out everything you’ve just cast on and give yourself a longer tail (that still happens to me), or if you have about 20 inches extra once you have all the stitches you need.
Remember that it’s easier to cut a too-long tail shorter than to redo everything if you don’t leave yourself enough.
On to the instructions. (If you learn better from videos, there’s a video tutorial at the bottom of the post.) You’ll need your yarn and one needle.
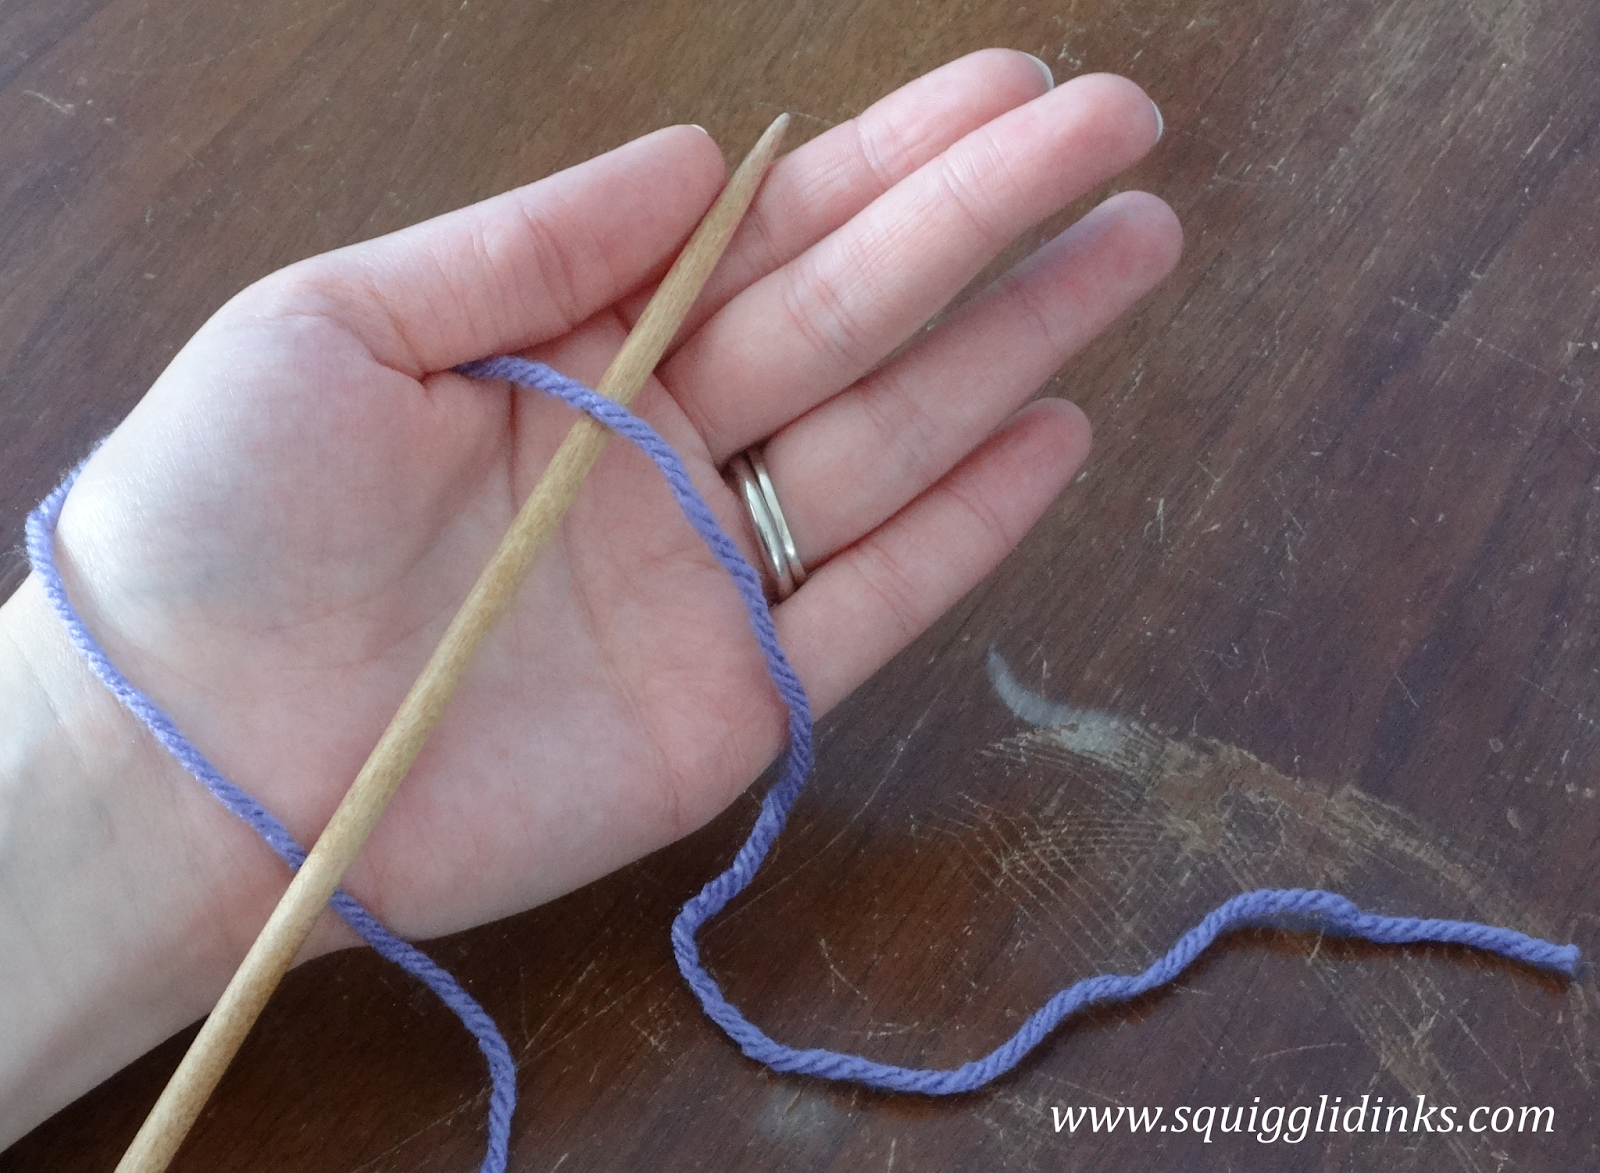
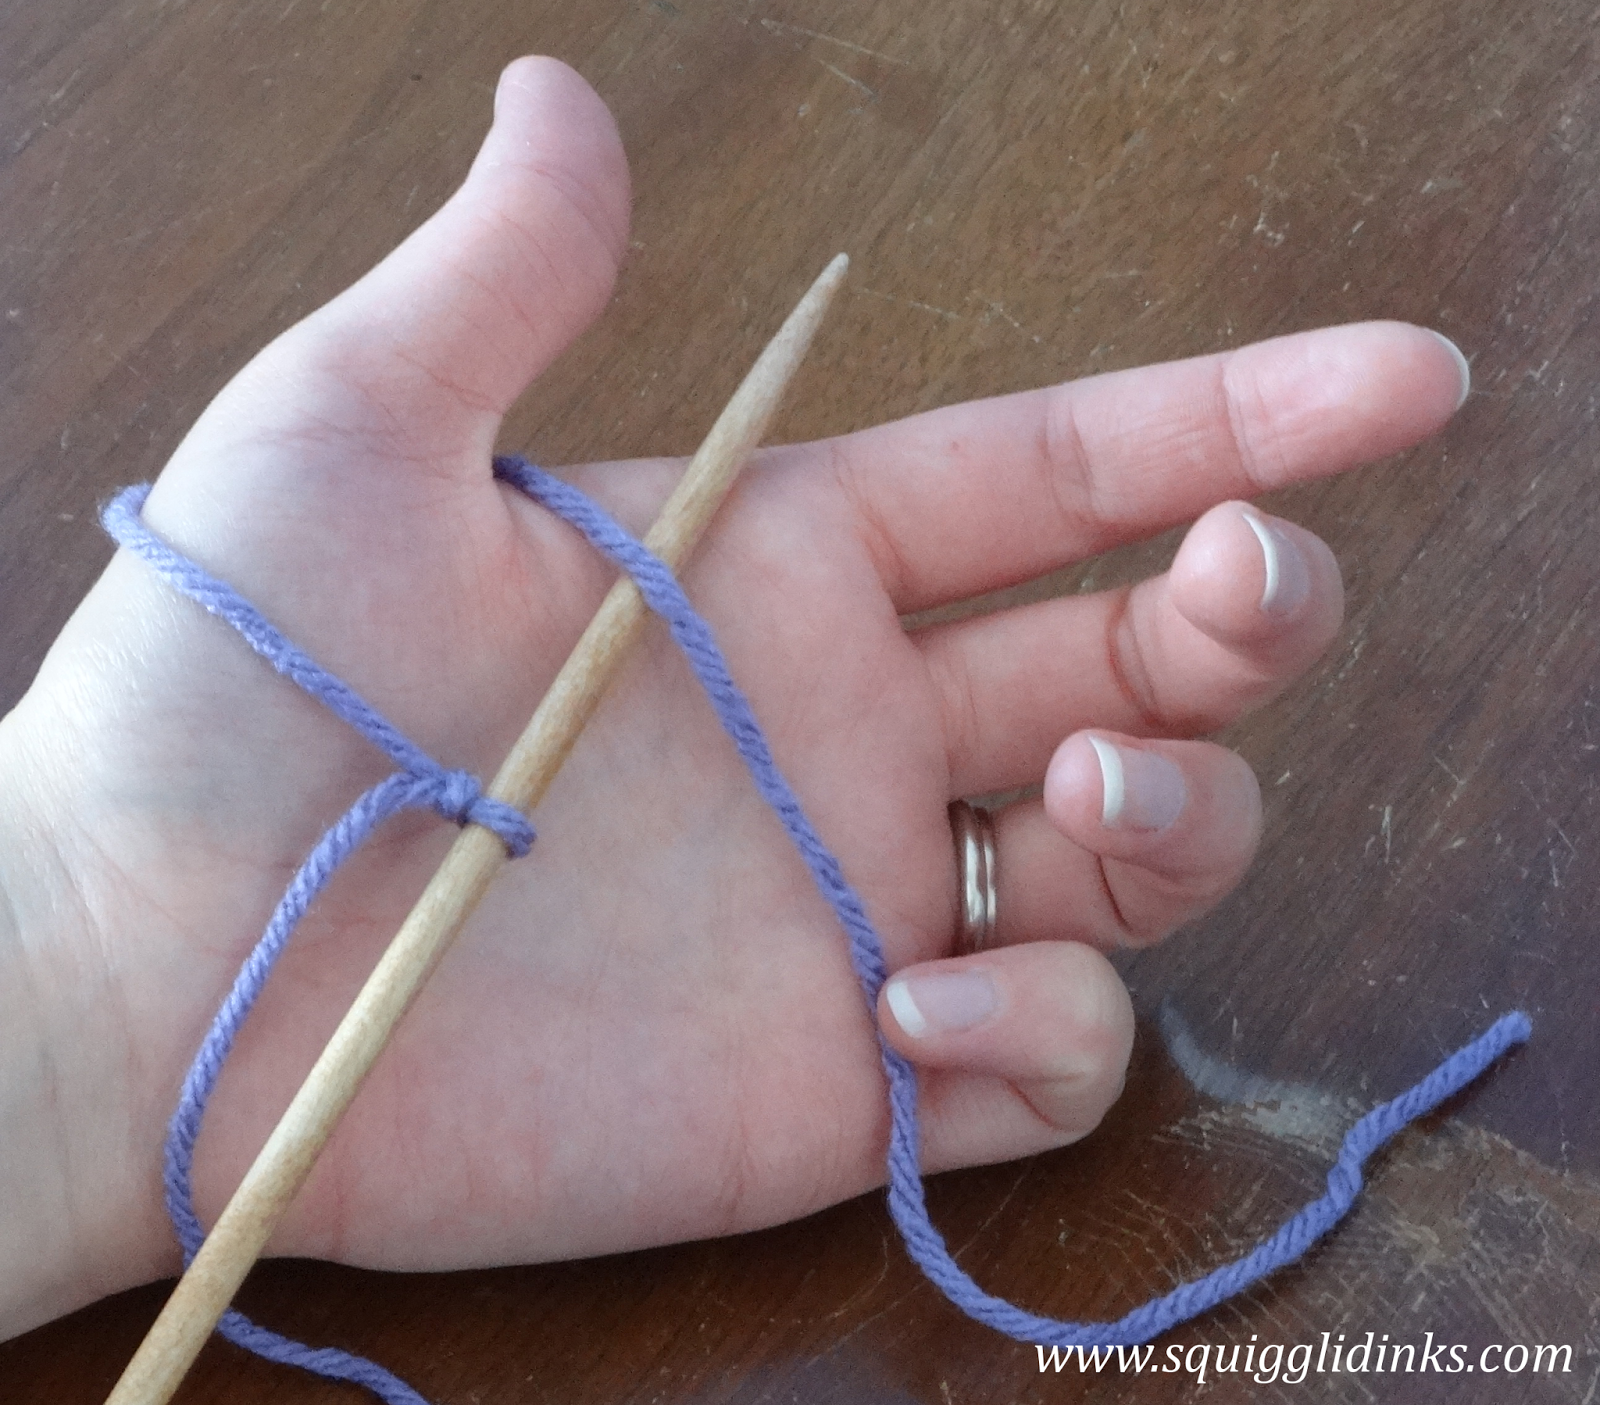
To start, hold the yarn loosely wrapped around your thumb, with the tail across the palm of your hand, and the working yarn down toward your wrist.

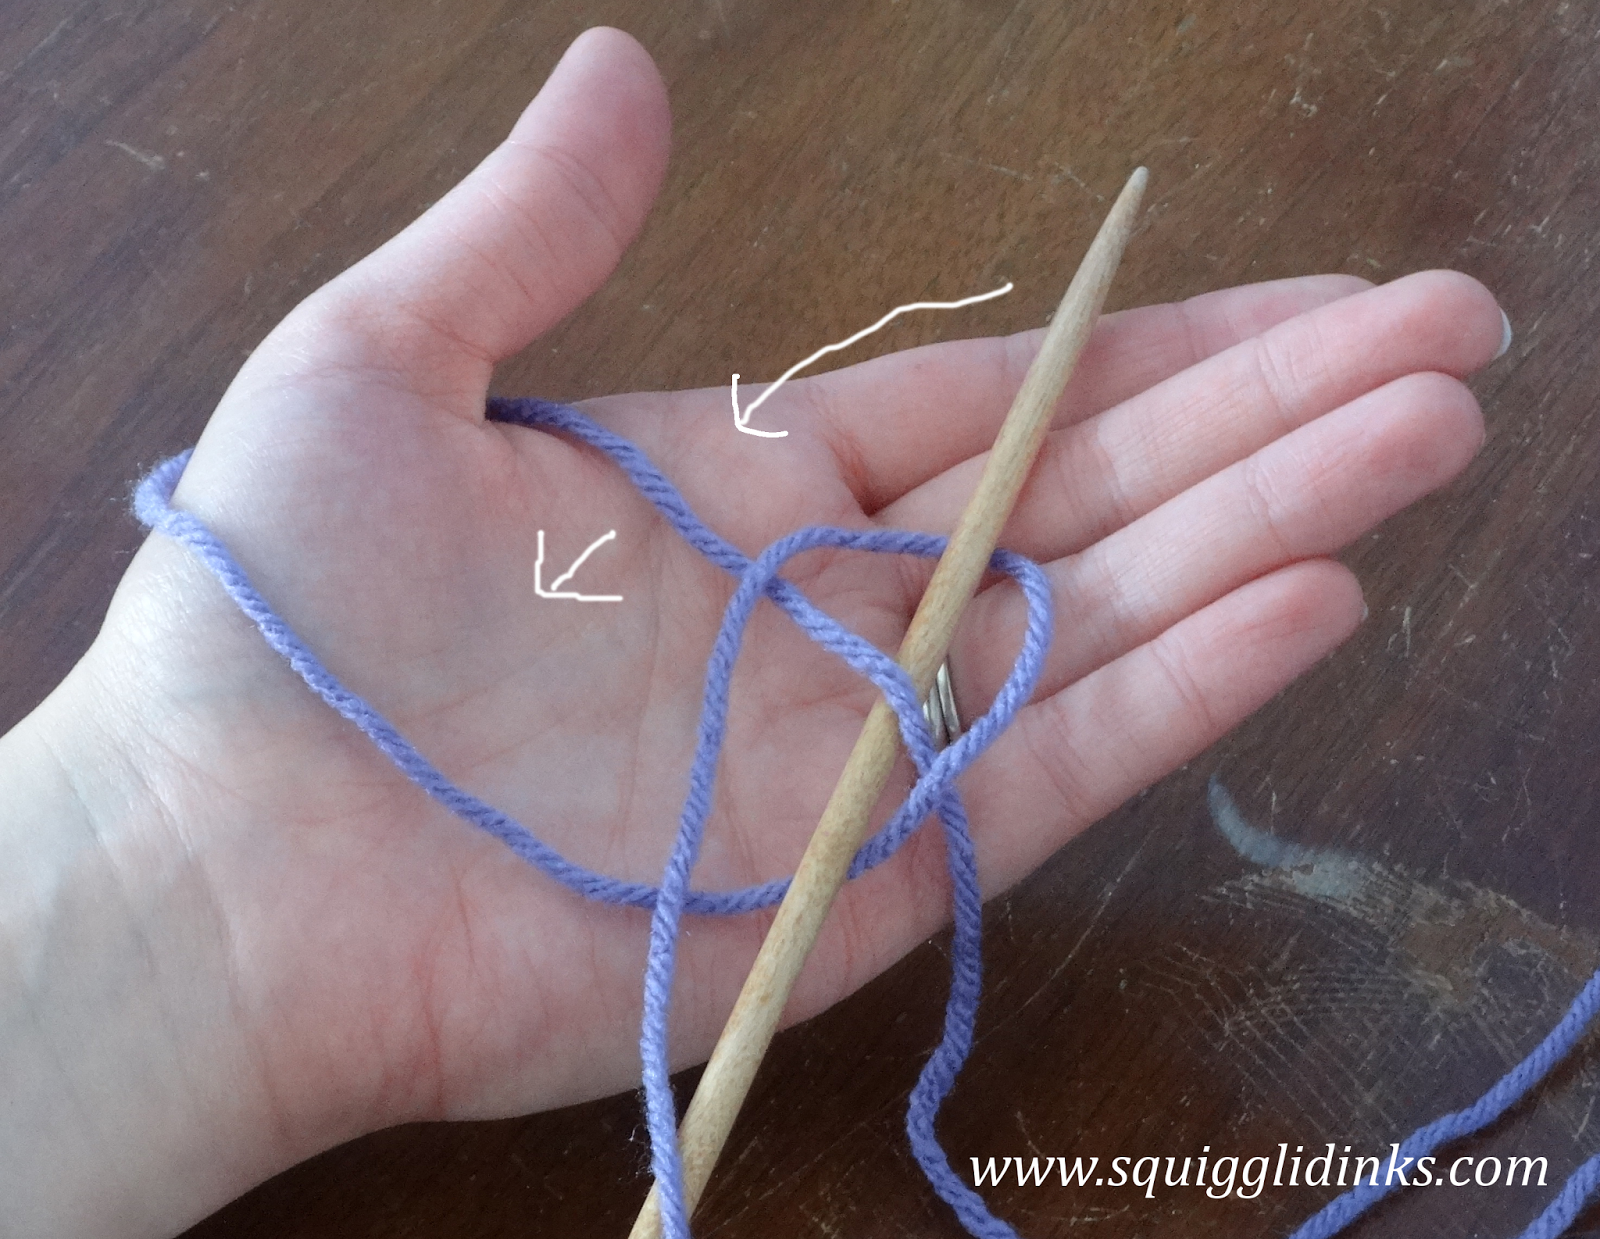
Take your needle and go over the working yarn and under the tail. (I like to hold the tail with my little finger to keep it from sliding all over while I’m casting on.)
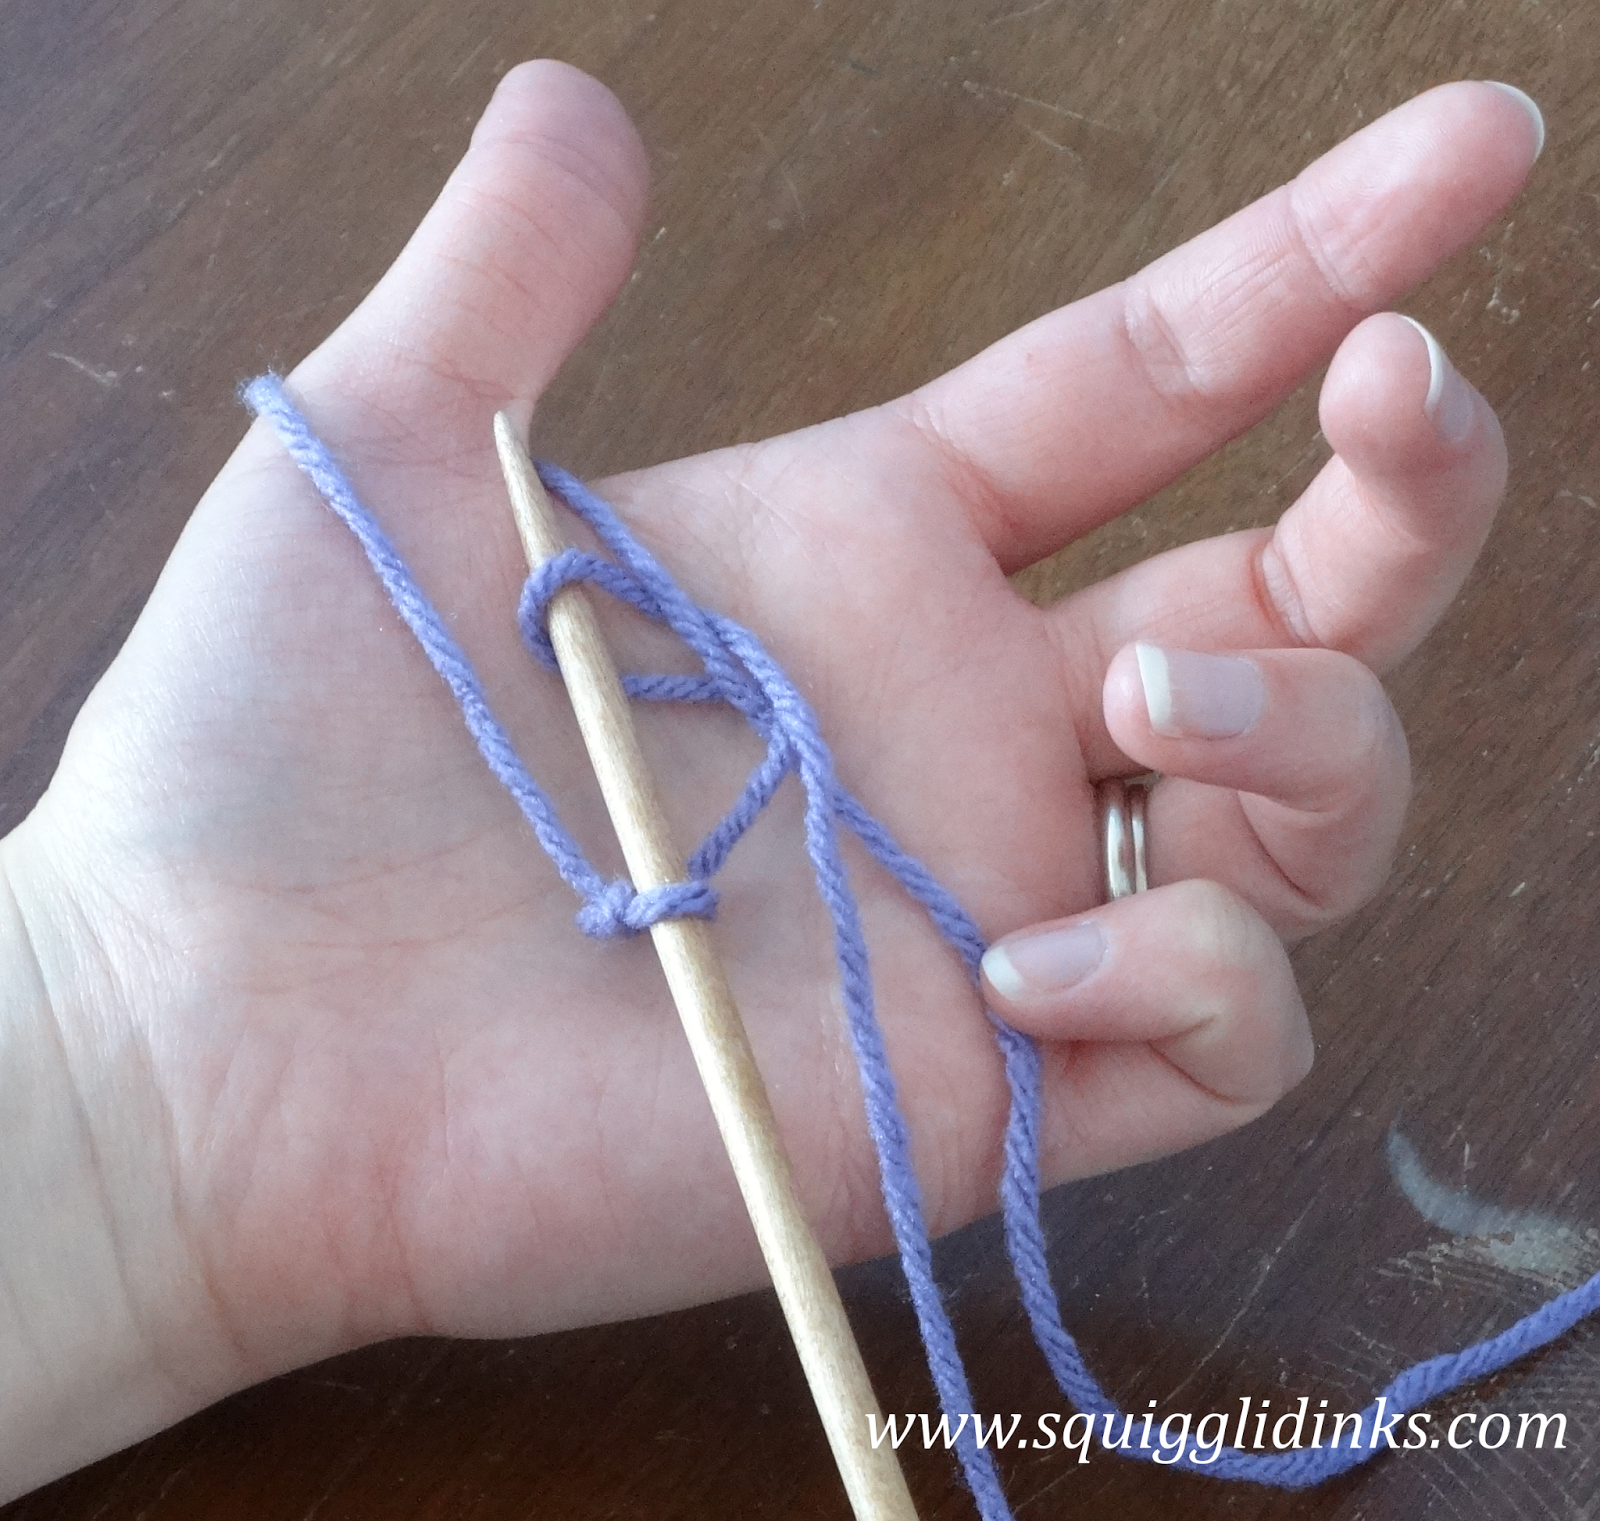
Take the working yarn up and around the needle counter-clockwise, going over the tail and behind the needle.

Dive the tip of the needle over the working yarn and down behind the loop around your thumb.

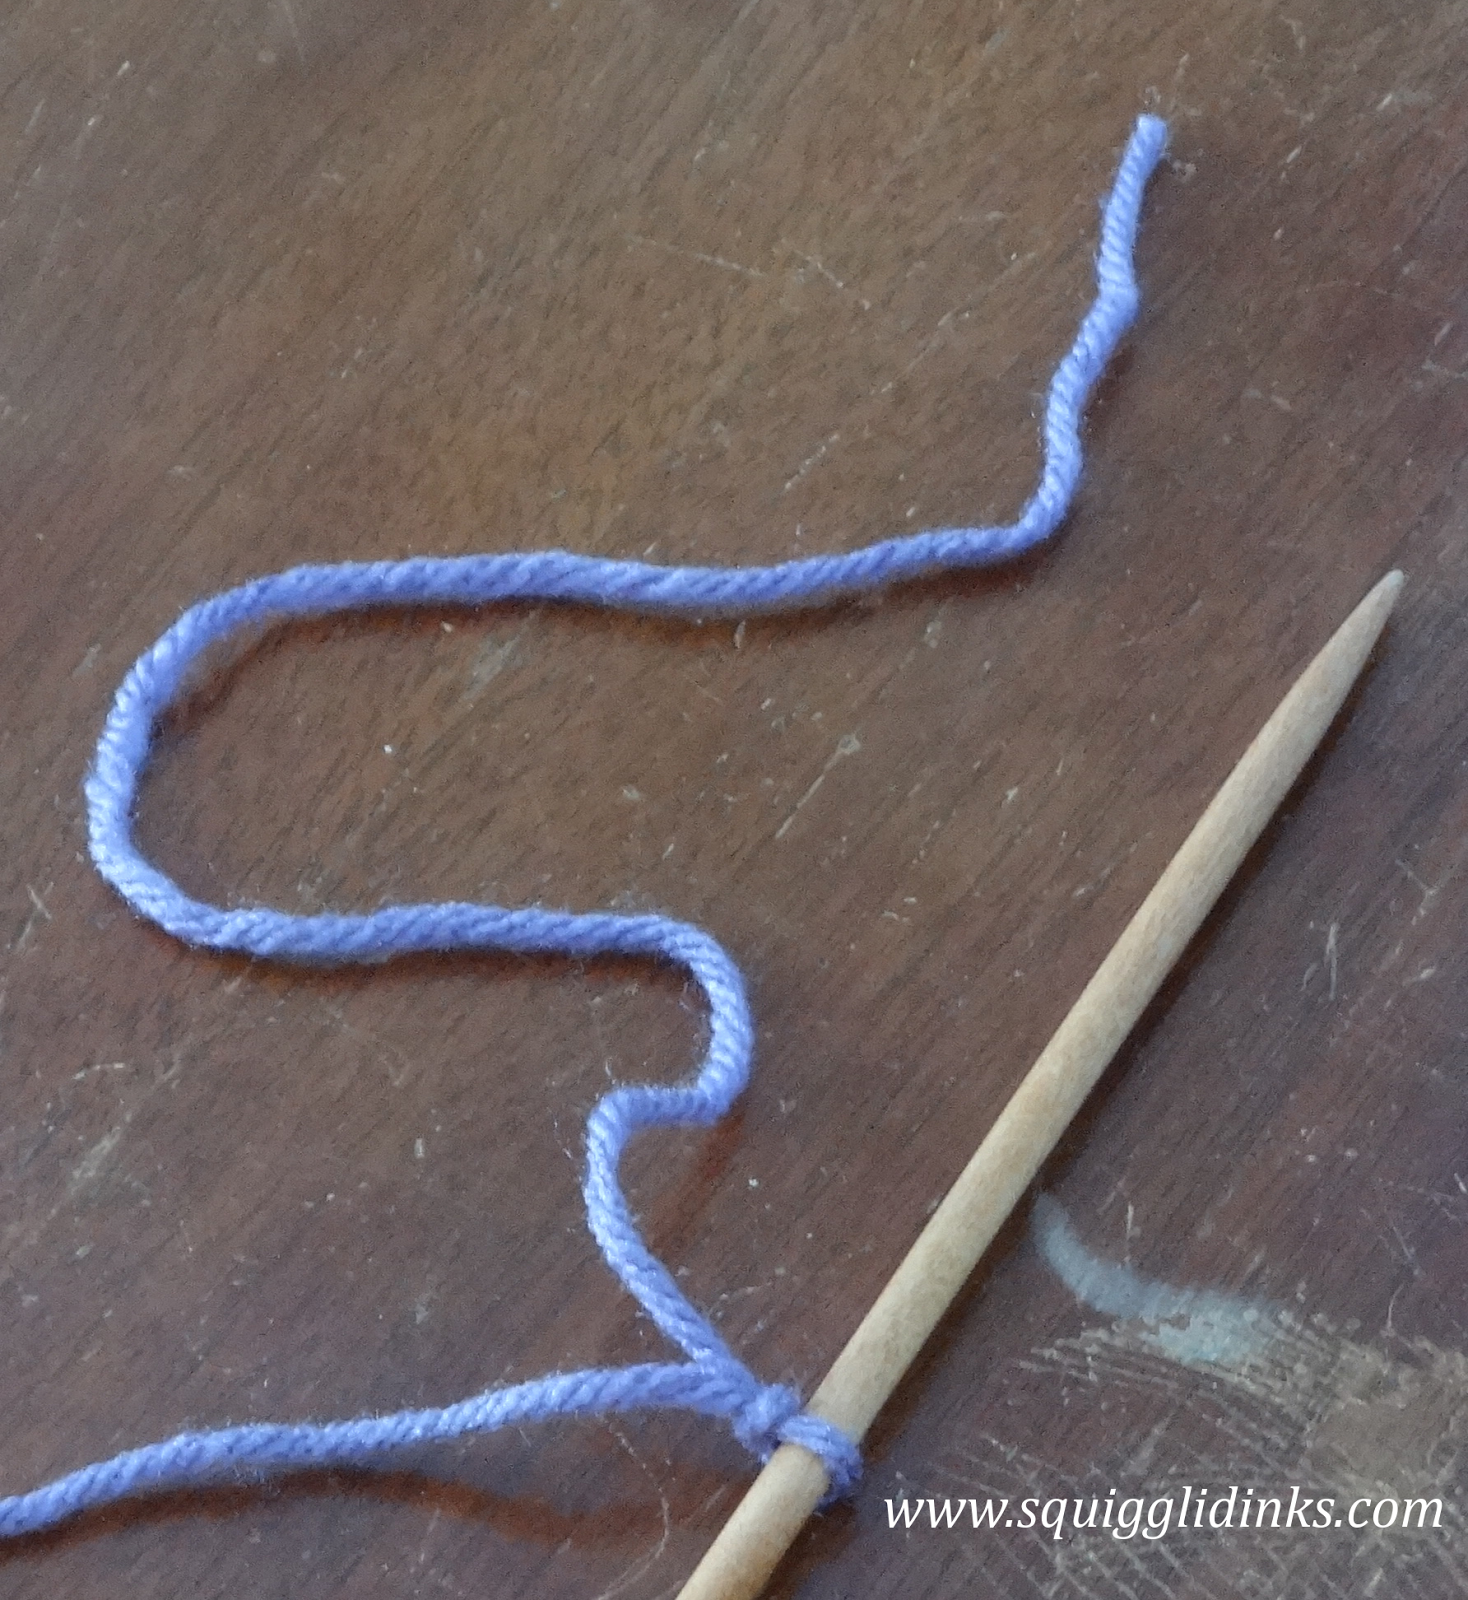
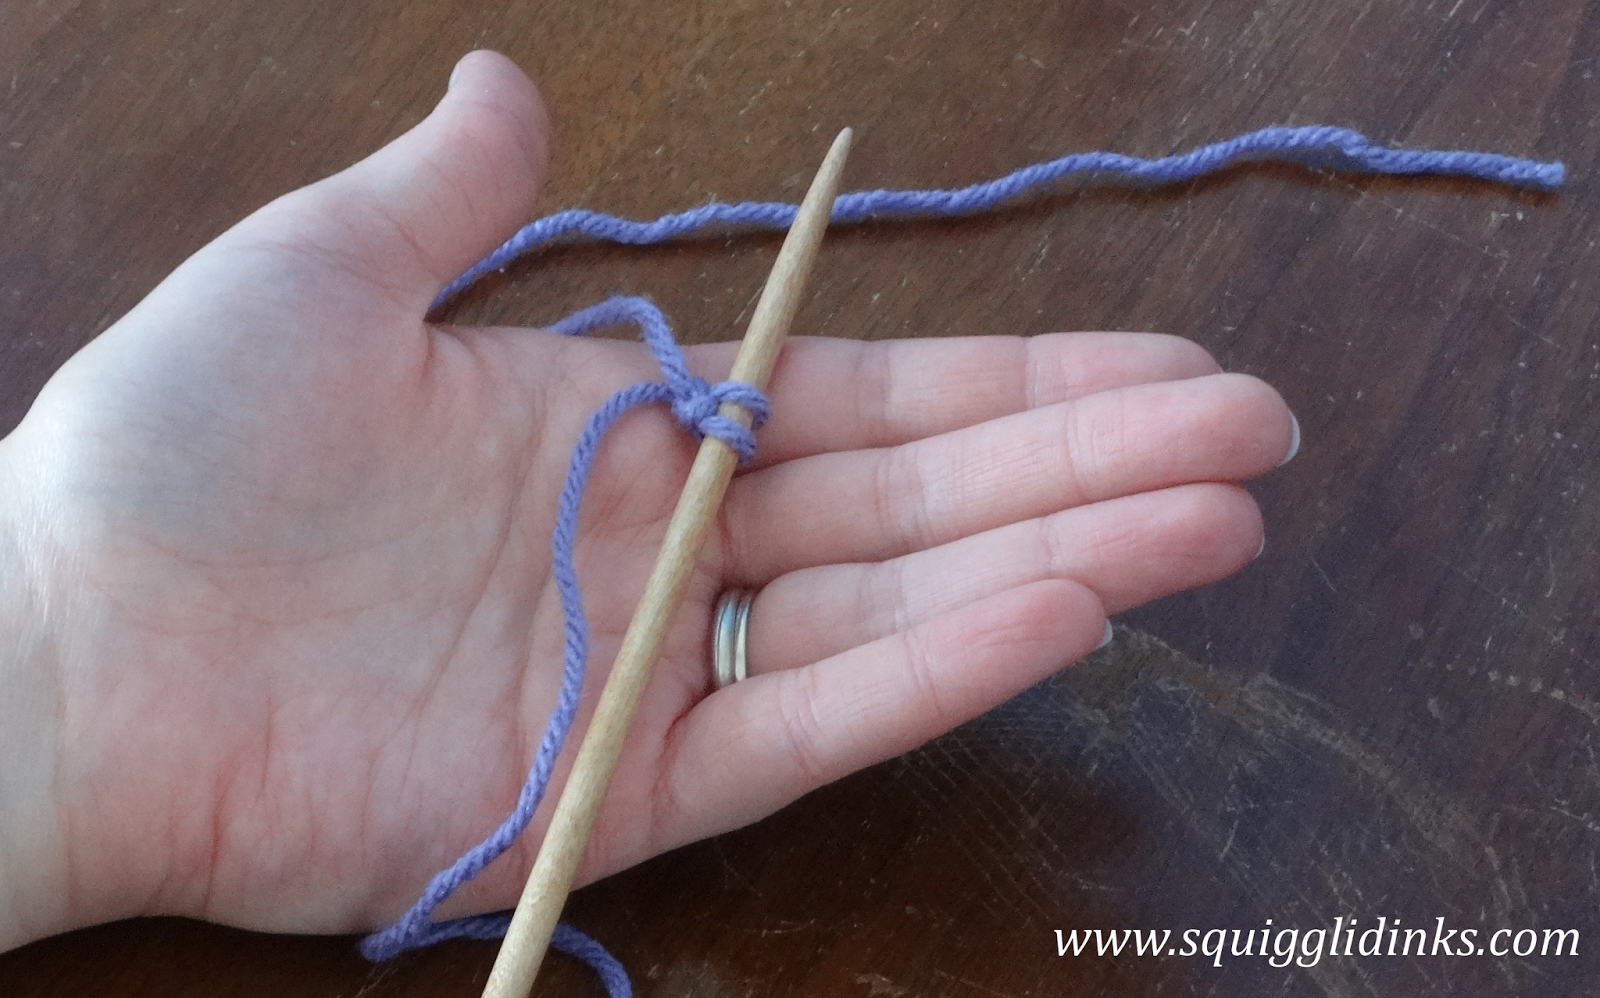
Slip the loop off your thumb and pull the stitch snug around the needle, pulling gently on both the tail and the working yarn.
Note: You want your stitches to be snug but not tight–too tight and they’ll be very difficult to work with when it comes time to knit them. If you find you have trouble with this, try casting on with a needle size larger than the one the project calls for, then transferring the stitches so that you have a little more wiggle room.
To get into position for your second stitch (and each stitch after that), hold the needle and yarn so that the needle is at the base of your palm and the tail goes around your thumb and across your palm again.

Put the tip of your needle under the tail.
Wrap the working yarn counter-clockwise up and around the needle again.

Dive the tip of your needle over the working yarn and down behind the thumb-loop.
Slip the loop off your thumb and pull it snug, so that it is next to the first stitch.

Continue adding stitches until you have the number you need for your project.
As promised, if you learn better by watching someone do it while being talked through the process, here’s my video tutorial of the long tail cast on method: