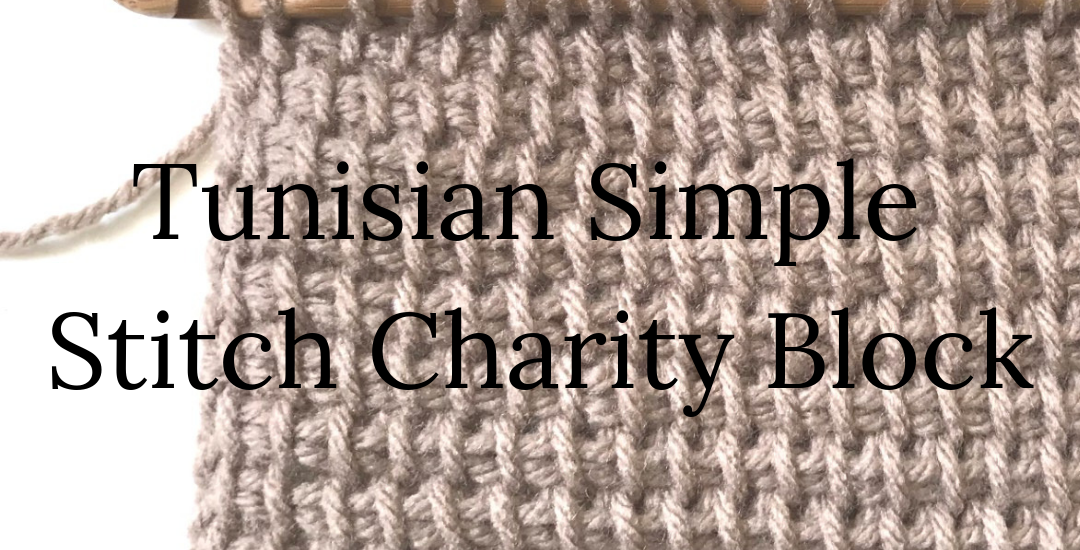
I’ve said a few times how much I’ve wanted to learn Tunisian crochet. I saw it in photos on Instagram a year or so ago and was mind-blown that this thing existed, something that looked like an incredible blend of knitting and crochet. I put it immediately on my to-learn list, but it took a while for me to get to it. I finally did, with the help of TL Yarn Crafts’ video tutorial series. Her post has five videos, but the first is the one that teaches the simple stitch, which is the one I used in this block. I’ll do other blocks later featuring other stitches learned in the later videos.
By actually trying Tunisian crochet, I learned two big things (and a lot of smaller ones): 1) I love it, and 2) it’s not a blend of knitting and crochet at all, it’s a unique craft in its own right. It has elements that make it similar to the other two, but it has elements that set it apart as well.
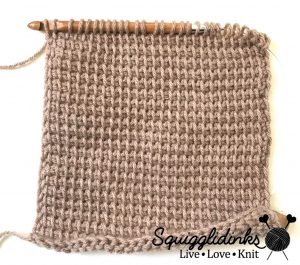
A few other things I learned about Tunisian crochet:
- You always look at the right side of the project. Your rows are worked by doing a forward pass and a return pass, but you never turn your work like you do in knitting and crochet.
- You want to go up a hook size (or few) from what you would normally use with crochet. I normally would use a J (6mm) hook (or a K (6.5mm), if I want it to be loose) with worsted weight yarn, but with Tunisian crochet I used an L (8mm).
- Tunisian crochet also has a strong tendency to roll, the same way knitting in stockinette stitch rolls. The best way to combat this is to go up another hook size and make the stitches looser.
- Don’t judge your gauge by your first few rows. Make sure you do a few inches. I judged by 3 or 4 rows at one point and thought it looked loose and way too wide, so I frogged it and started again with fewer stitches. Then I got farther in (I won’t say how close I was to the end before I measured that time…), and it was way too narrow! I had to frog the whole thing again.
I had a lot of trouble with tension along the right and left edges. My right edge (the first stitch in the forward pass) tended to be loose, and my left edge (the last stitch, and the first stitch of the return pass) tended to be tight. Once I noticed this I was able to adjust and make sure I held the yarn tighter at the beginning of the forward pass and looser at the beginning of the return pass. This was something I learned after practice (I frogged and restarted this swatch so many times I lost count—somewhere around 7…).
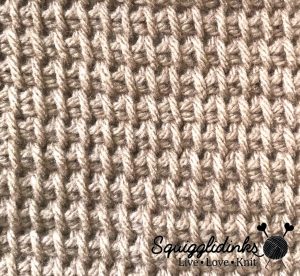
What you’ll need:
- Tunisian crochet hook, size L/11, 8mm. (Mine is this one, but you could also use one like this.)
- Worsted weight acrylic yarn (I used Loops and Threads Impeccable. I wouldn’t recommend using any really slippery yarn until you’re comfortable with Tunisian crochet. I tried using Caron Simply Soft at first and had a lot of trouble because it was too slippery.)
Gauge: 15 stitches = 4 inches.
Tutorial Video from TL Yarn Crafts HERE.
How to do it:
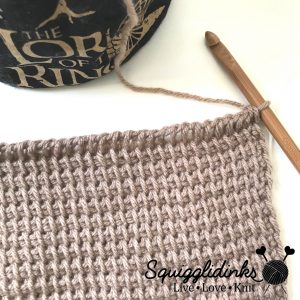
In the video, Toni has you do a swatch using 13 stitches. Follow her example, only use 28 stitches instead. Follow everything else she does in her tutorial. Continue until the block measures 9 inches. Finish as shown in the video.
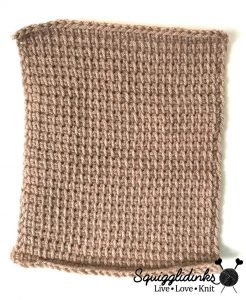
What do you think? Do you love it? Are you glad you tried something new? What new skill do you still want to learn? Tell me in the comments!

This is great! I’ve been wanting to try Tunisian crochet for ages. You’ve inspired me to try!
Yay! I’m so glad! TL Yarn Crafts’ tutorials are awesome, and she’s got some gorgeous patterns, too!
[…] learning (and falling in love with) Tunisian simple stitch, I decided to try one of TL Yarn Crafts’ other video tutorials to learn a new stitch pattern. […]