

The inspiration for this rug goes way back, pre-kids, pre-blog. Every so often I go through a purging phase, where I trash or donate everything that has accumulated that we don’t want or need anymore. I was in one of those phases, sorting through our dressers in our old apartment, and I came across a stash of old t-shirts. Some of mine, some of my husband’s, and we weren’t wearing any of them. But we didn’t want to get rid of them, either. They all held memories of something—high school sports or theater, awesome trips we’d taken, accomplishments we were proud of. I’d been thinking of eventually making a t-shirt quilt for a while, so I agreed to keep a select few of those shirts for the quilt. (And eventually, in this case, means I just sewed the top of the quilt a couple of weeks ago…after I purged my craft closet and forced myself to finish some unfinished projects.) I cut the pictures from the front and cut up the rest to use as yarn. Being cut into yarn has been the fate of nearly every discarded t-shirt since then. At first I thought I would knit it with big needles, but then I started seeing crocheted rugs around Instagram, and it was settled. (And “eventually” applied to the rug too—it was one of the unfinished projects from my last purge that I had to finish.)
I wanted to use this rug on the floor in my office, but it turns out that finishing the basement and building my office has an even longer eventually than the quilt and rug did. So when my boys told me they wanted the rug while I was sprawled on the family room floor working on it, I promised that it could temporarily live in one of their rooms until my office gets finished. (And let’s face it, they’ll have it for years, most likely.)
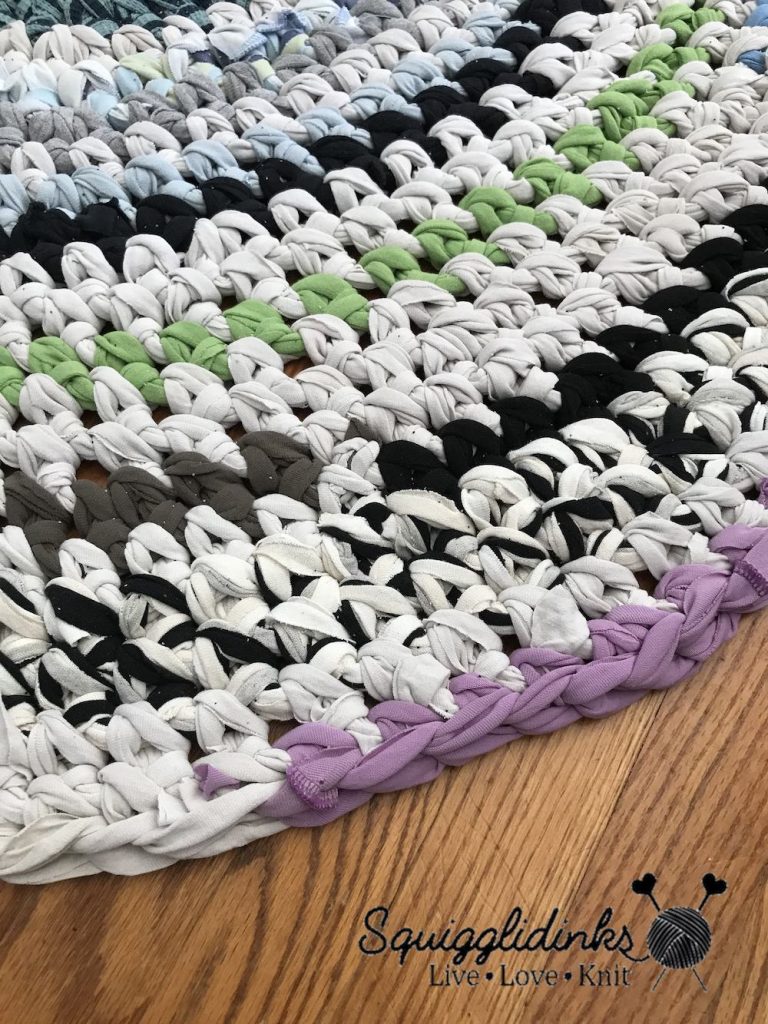
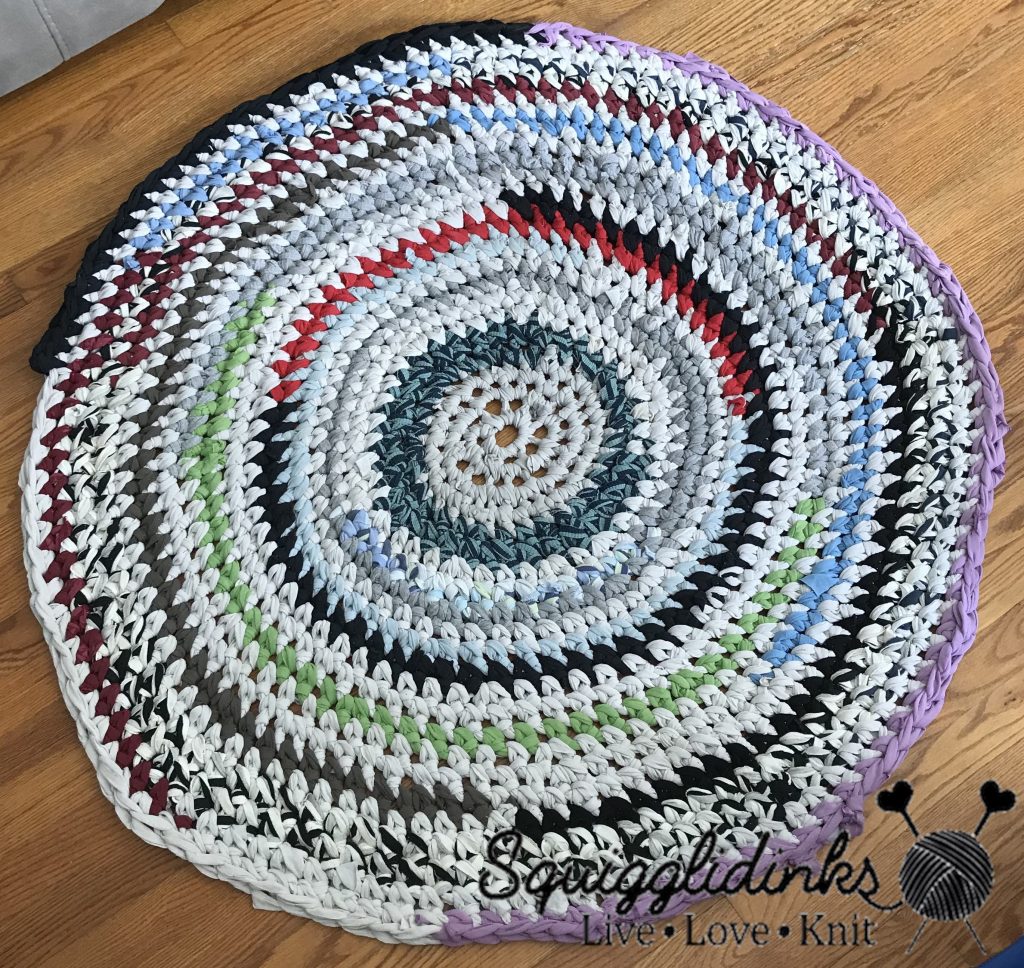
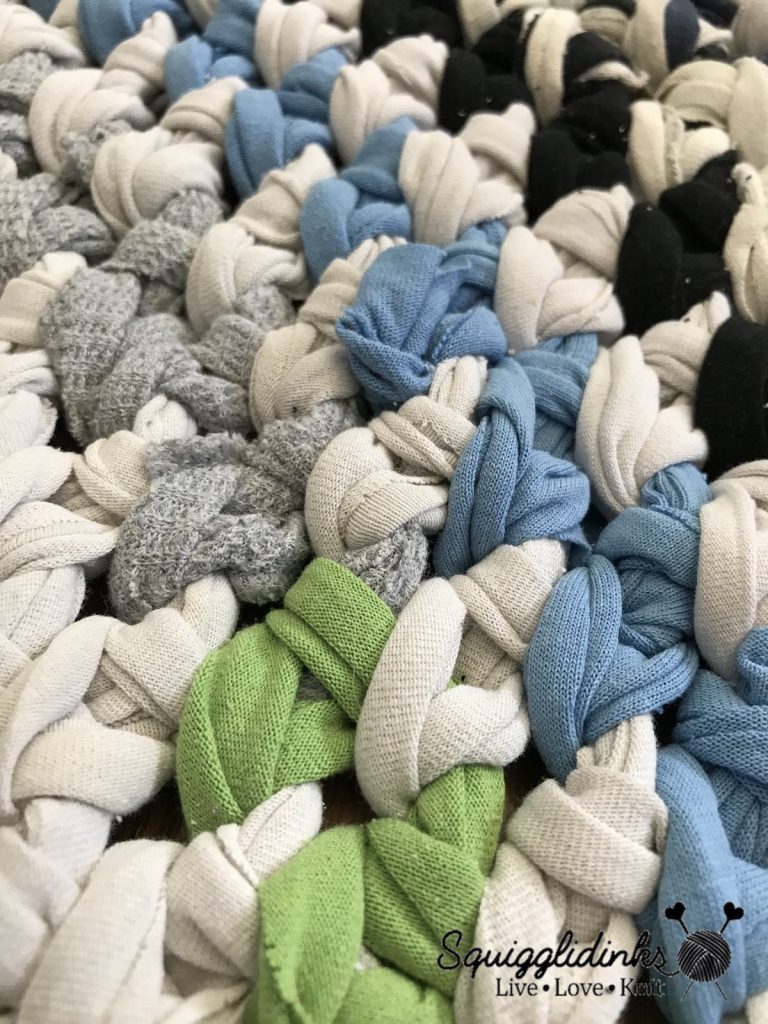
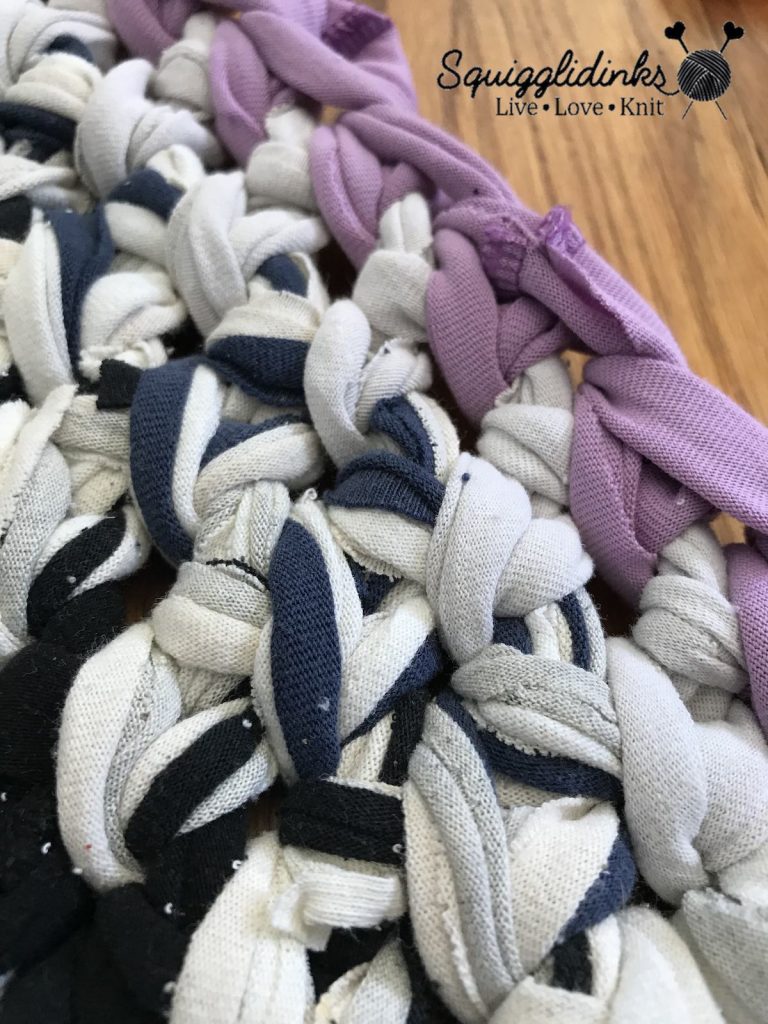
It’s insanely easy to make a rug like this, and I love being able to look at it and remember the favorite shirts that made it. The first step is to actually make the yarn. (And I’ve seen people make rag rugs from old sheets or scrap fabric, too, so don’t feel confined to shirts if that’s not what you have a lot of.) I actually used a waffle-knit shirt in the tutorial (it’s the blue-and-teal stripe toward the center of the rug). Regular t-shirts are easier to work with, but I couldn’t leave that one out. I bought it in Galway while studying abroad.
I don’t have any gigantic crochet hooks (if you do, you’re welcome to use those), but I do have fingers. I learned how to finger crochet (it’s easy enough for kids to learn, if you’re looking for a project to keep someone occupied this summer) using this video tutorial.
I didn’t use an actual pattern. I began by making a flat circle. After the first few rounds, I just started putting two single crochets in one stitch whenever it seemed like an extra stitch should fit. (That may be why my circle is a bit wonky, but it lays flat and I didn’t have to use stitch markers or count anything.)
If you prefer an actual pattern, you can follow this one from One Dog Woof—she cut her t-shirts a little thinner and she used a hook, but she gives you good round-by-round instructions. Hers also doesn’t have a lot of holes in the middle like mine. The stitches in the previous round got really stretched out when I was doing two single crochets in every stitch for an entire round or two. I probably should have either used a smaller hook than my fingers to keep the whole thing tighter, or I should have started with less stitches in the first round so that the circle overall would be smaller. But I was already too far into it before I realized what I could do differently, and it doesn’t bother me much.
I’m so glad to have a handmade rug to keep our family comfy! What will you use to make yours?