
*This post may contain affiliate links.*
I’ve been looking for an excuse to make this sweater for years.
I stumbled across the book Greetings from Knit Café, by Suzan Mischer, in my local library and loved the patterns, so I got my own copy. Some of the designs are fairly impractical (a knit evening gown, for instance), but others I’ve just been waiting for a chance to try. And even the ones I would never make, I love looking at.
My chance to make this pattern came because Munchkin is enough smaller at this age that he can’t wear the sweaters Little Bear wore.
Now, I have to admit something from the start:
I altered the original pattern in a lot of ways. Too many ways, actually. I’m going to tell you about them all in this post, but I’m going to STRONGLY recommend that you don’t do what I did. At least not all of it at once.
Don’t get me wrong; I love how the sweater turned out. But it was a much bigger pain to make than it had to be.
I changed my mind about the stitch pattern. Twice. I lost track of where I was in the pattern and what I was doing and had to rip out inches of knitting to get back to a place where I had forgotten to do something. And I messed up my math at one point, requiring me to backtrack (again).
In the end, the original pattern was more of a guideline of how to make it than a pattern that I followed. Again, I don’t necessarily recommend this. I often tweak patterns that I use, and I generally like how they turn out. But if little people are constantly distracting you, it’s a lot easier to pick up where you left off if you’re following an actual pattern.
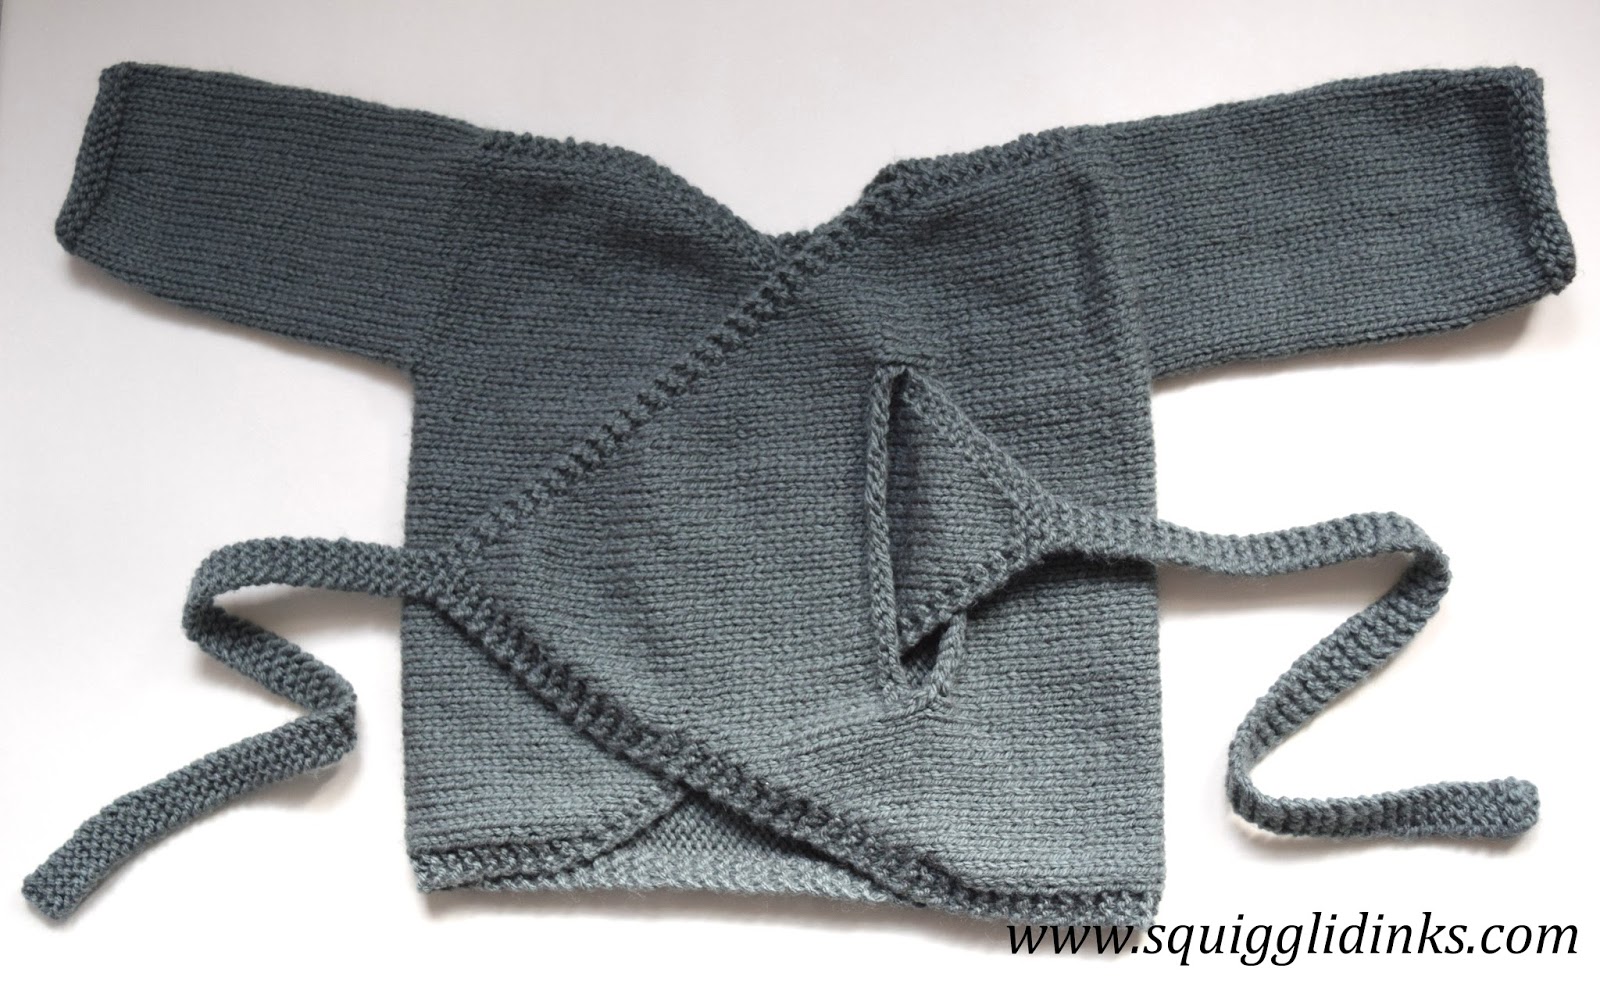
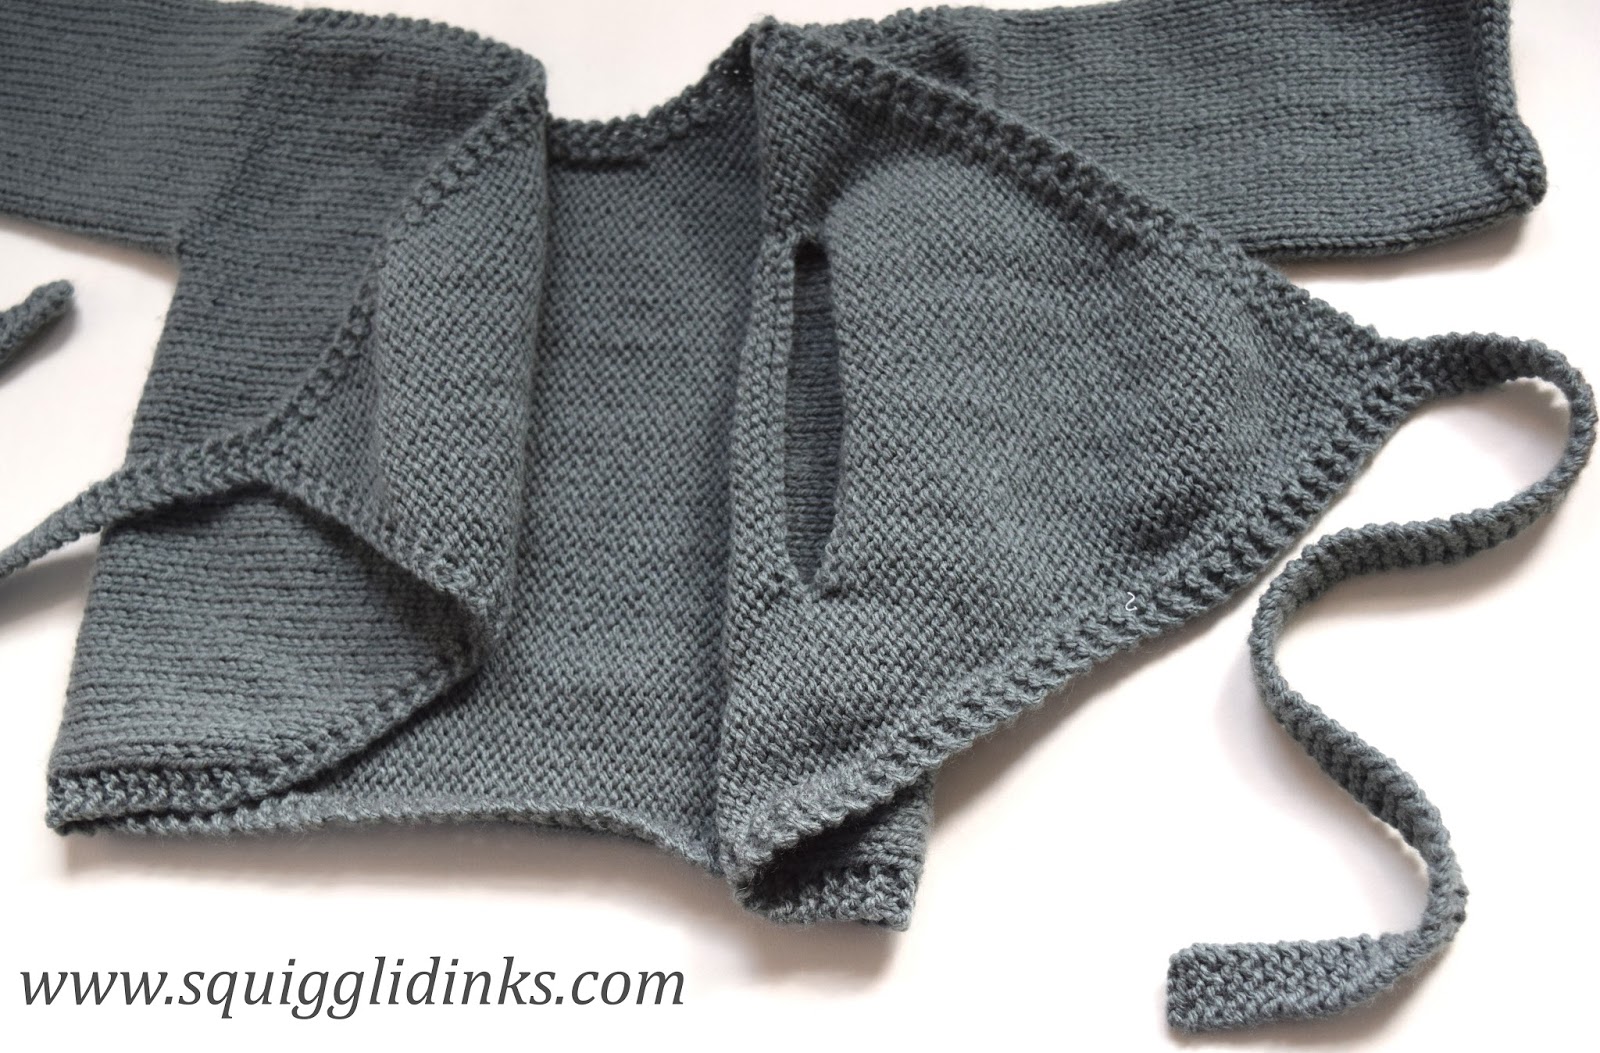
The pattern is knit sideways (which is one of the things I love about it). You start by knitting one of the ties, then increase to knit the body, setting stitches on holders for the sleeves, then decrease and finish with the other tie. Then you pick up the stitches for the sleeves and knit them. (And yes, I did follow the structural part of the instructions.)
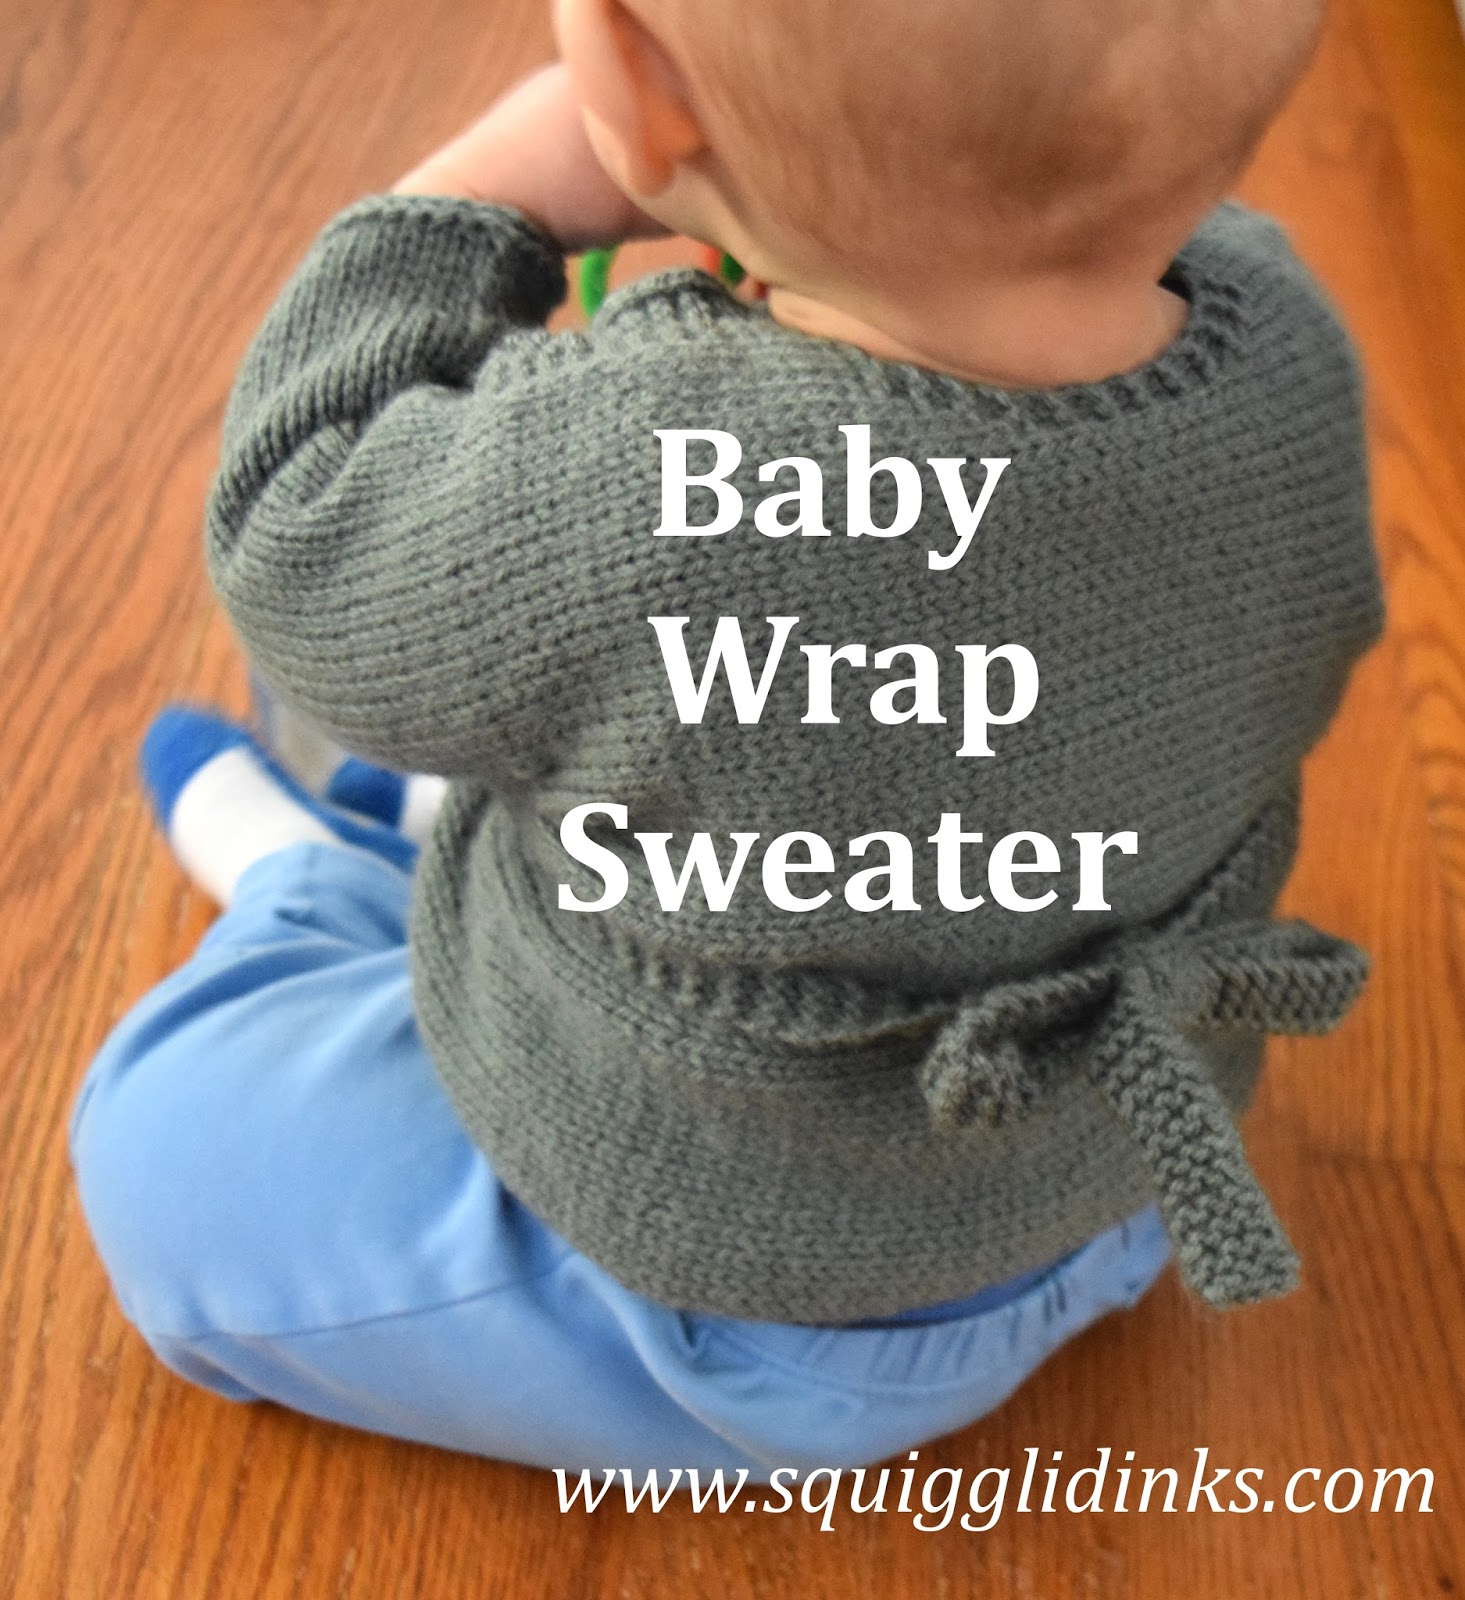
The sweater is reversible–it can either wrap across the front and tie in back (as in my photos of Munchkin), or it can wrap across the back and tie in front. (Below, when I label the increasing/decreasing sections as the front sections, I’m referring to the way I have it on Munchkin.)
Here’s a run-down of what I did:
Supplies Needed
- Baby yarn (I used 1 skein of Loops and Threads Snuggly Wuggly from Michaels in dove gray)
- Straight knitting needles—size recommended: 5; size I used: 6 (See below for explanation.)
Overall Design
- Gauge: The pattern calls for 5.75 stitches per inch with size 5 needles. Instead, I used size 6 needles. I like my stitches to be a little looser, so I almost always use needles a size bigger than the yarn calls for. Personal preference. I just had to do a little math to get the right measurements instead of following the numbers in the pattern.
I do NOT recommend that you do this. My life would have been so much easier if I had used the smaller needles and the recommended gauge. (There are times when I’m all for substituting needle sizes and gauges; this isn’t one of them. I learned the hard way.)
- Ties: The pattern calls for 6 stitches across the ties; I used 4, partly because I had a larger gauge and partly because I liked them a little narrower. Not a big change, and it worked just fine for me.
- Stitch Pattern: The increasing/decreasing sections are supposed to be garter stitch, transitioning into the honeycomb stitch for the body and sleeves. The honeycomb pattern is super easy, but I didn’t like it as much in my own knitting as I did in the photos, so I decided to knit the whole sweater in garter stitch. And then, when I had to take out a whole section because I’d done my math wrong (I increased too much), I decided I didn’t want garter stitch after all. (Again, personal preference. Stockinette stitch is kind of my favorite.)
Increase Section (Right Front)
After I increased too far and changed my mind about the stitch pattern, I ripped it all out, back to the very beginning of the increases (I kept the tie), and did stockinette stitch with a garter stitch border instead. This is how I did the increase rows:
Row 1: k1, k1fb, k to end
Row 2: k1, k1fb, p to 3 from end, k3

Body
Once I had increased the right amount (the pattern in the book has a handy diagram for what the final measurements should be—I referred to this a lot), I switched to this pattern:
Row 1: k to end
Row 2: k3, p to 3 from end, k3
I continued this pattern for the whole body of the sweater, placing stitches on hold for the sleeves and shaping the back of the neck as directed.
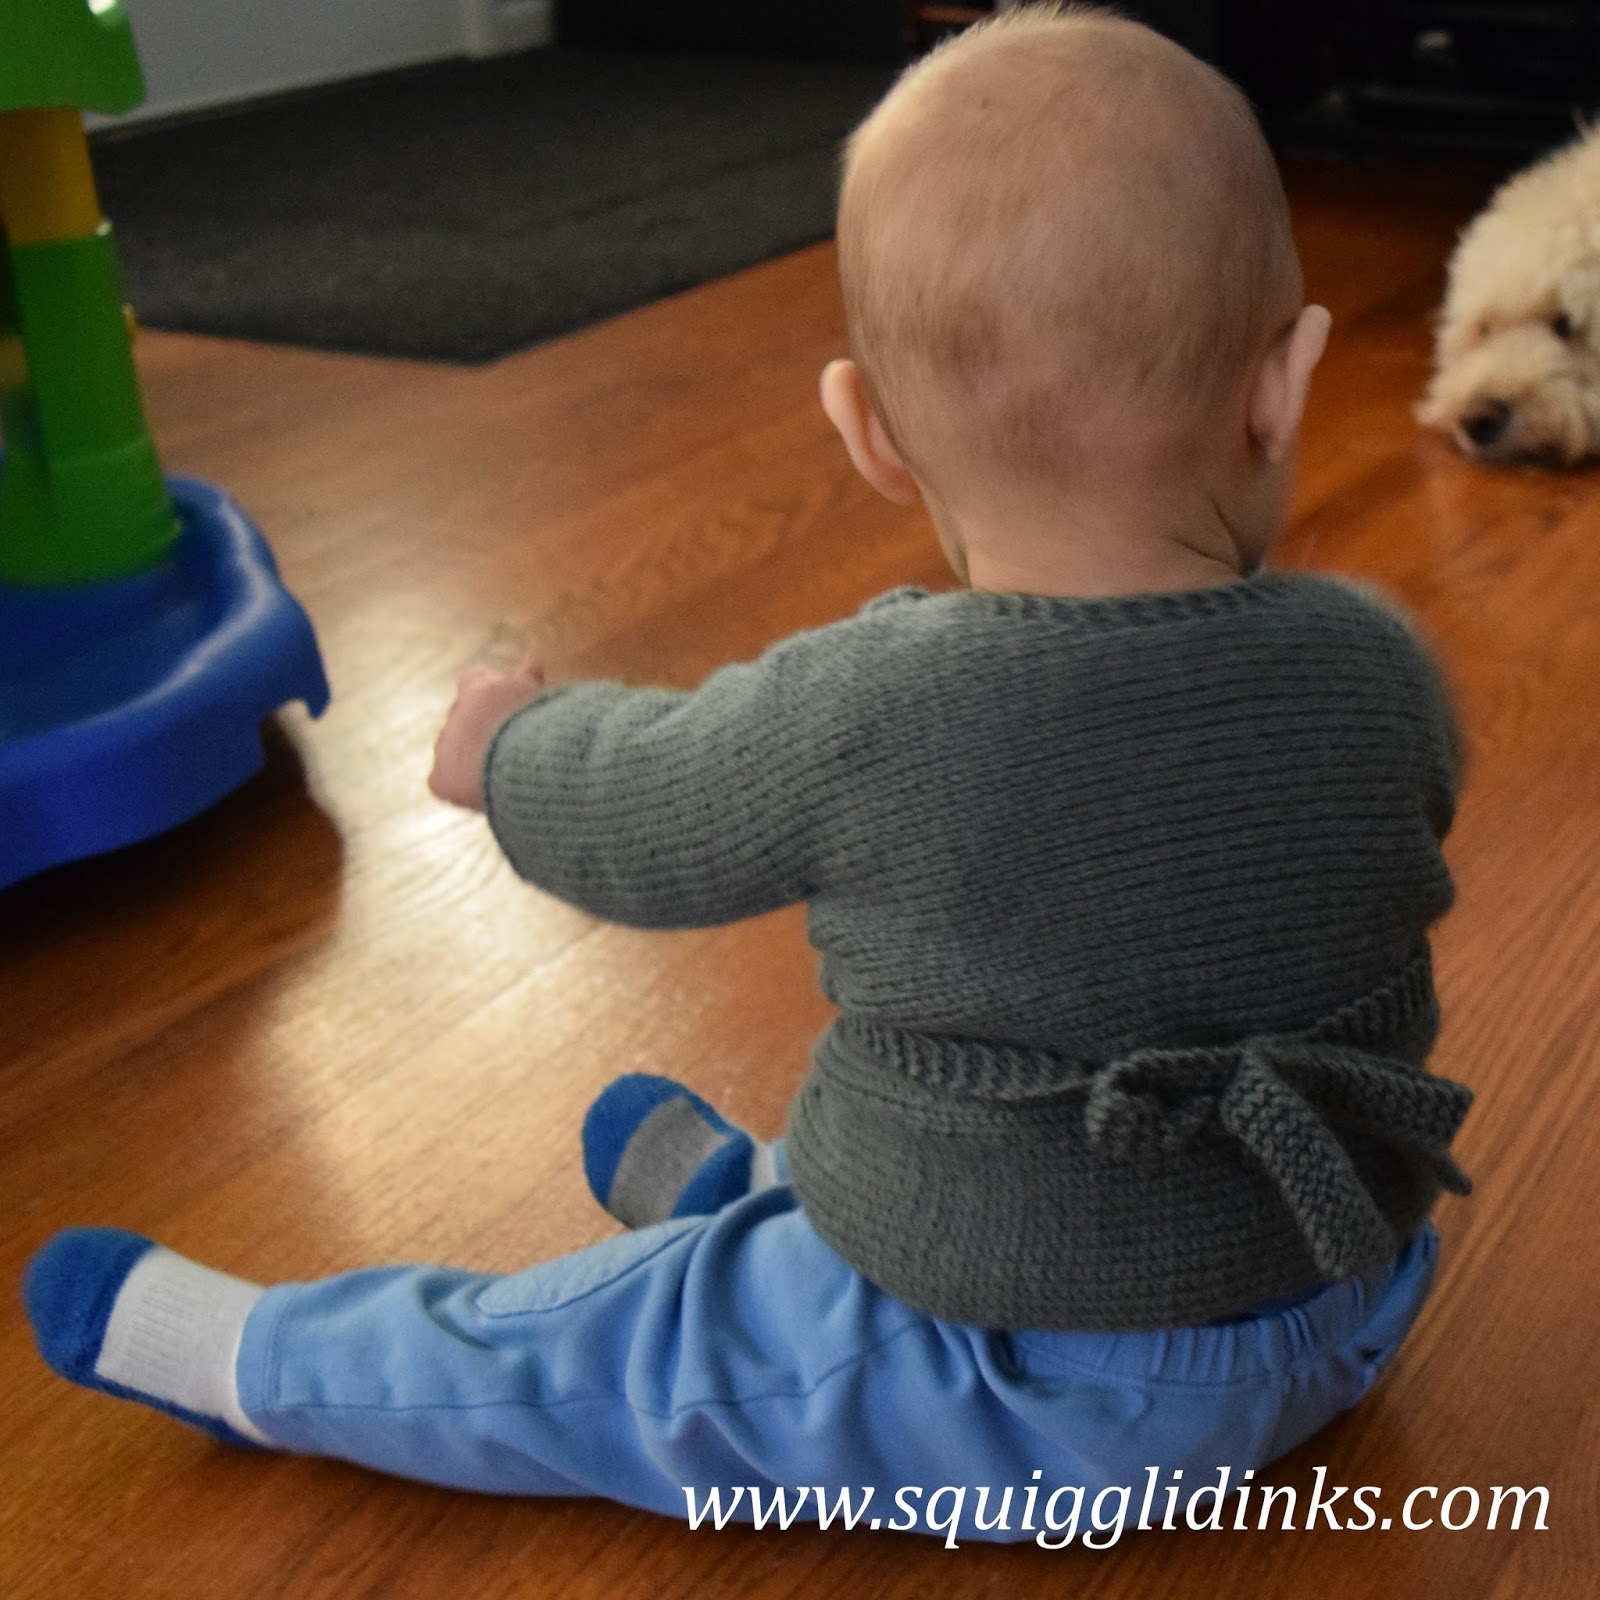 |
| You can see our goldendoodle Ripken in the background |
Decrease Section (Left Front)
This is how I did the decrease rows:
Row 1: k2, k2tog, k to end
Row 2: k2, k2tog, p to 3 from end, k3
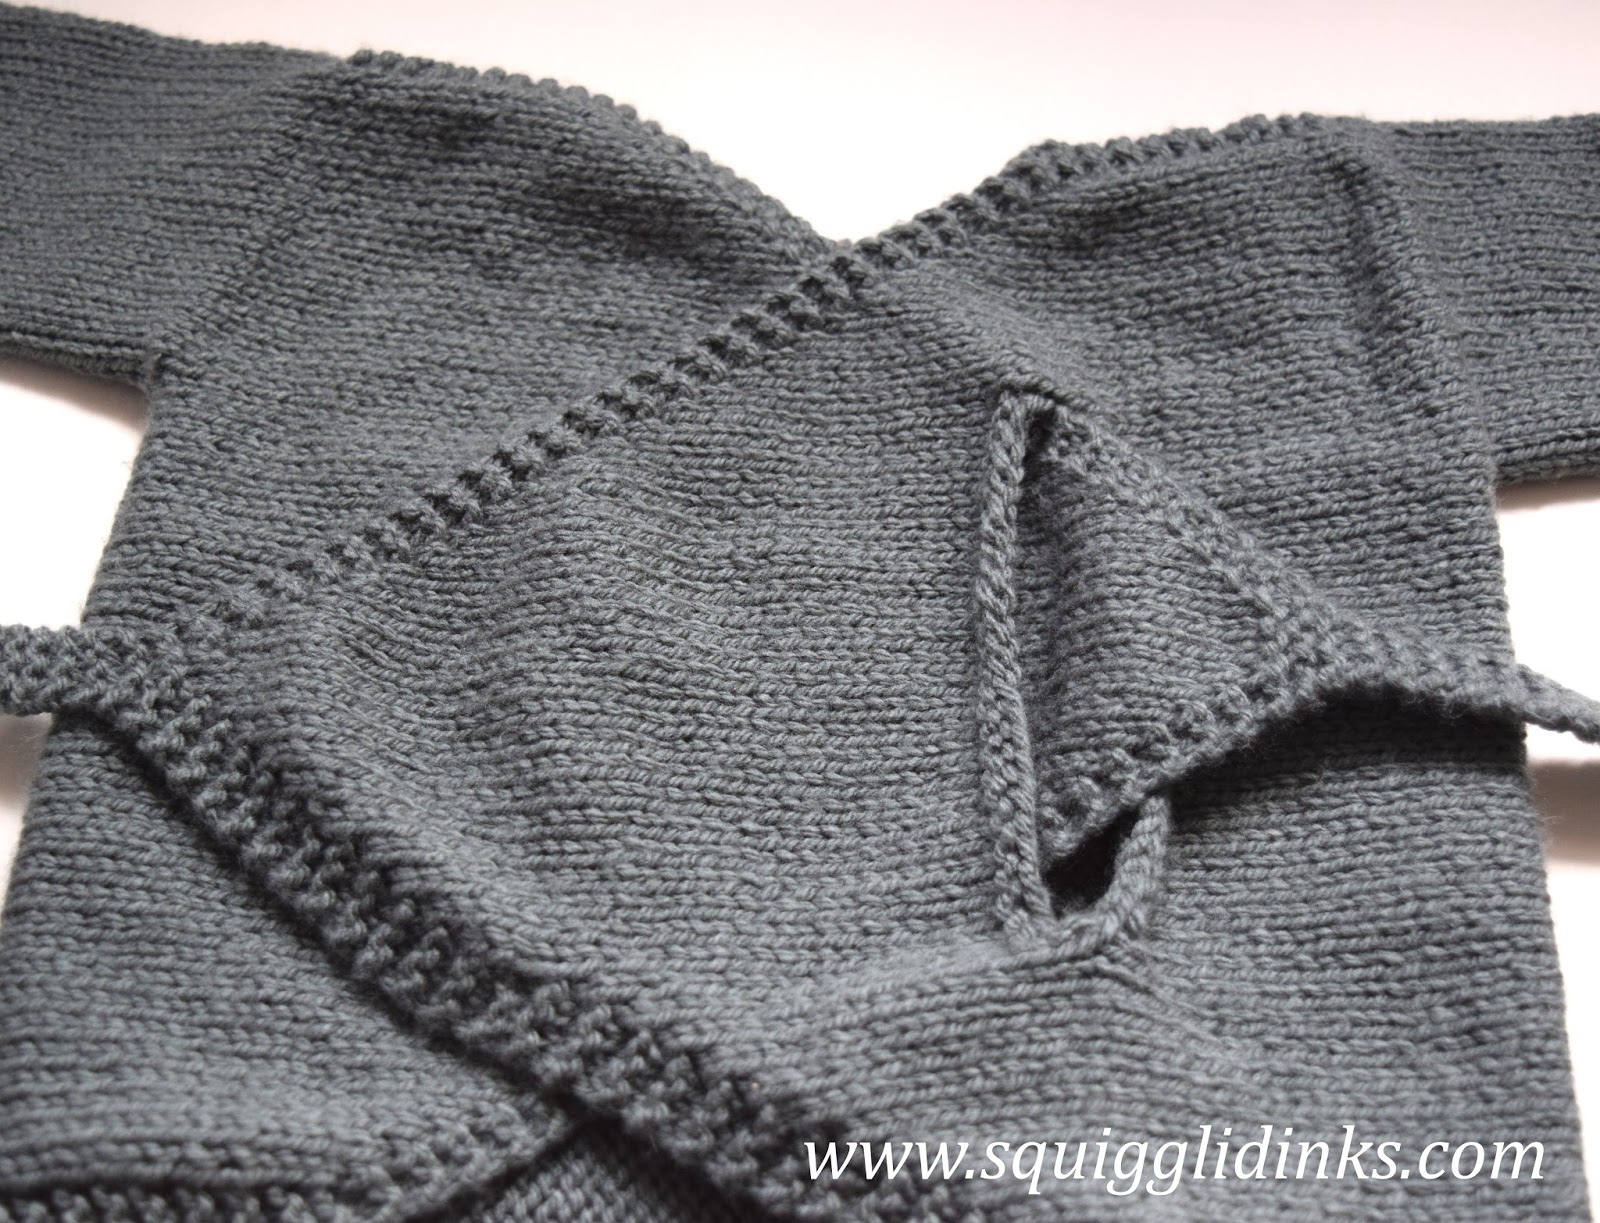
There’s a slit in this section so that the Right Front can wrap across and through. I knit a couple of rows of garter stitch before and after the slit to try and keep the edges from rolling.
Sleeves
The sleeves in the original pattern are knit flat on straight needles (super simple!), then the sleeves and shoulders are all finished with the three-needle bind-off so that no seaming is necessary.
Instead, I sewed the shoulders first, then knit the sleeves on double-pointed needles (dpn). I made the sleeves about an inch longer than the pattern calls for, too.

In the end, I think the sweater looks adorable, and Munchkin looks super adorable in it. But if I could give my past self a few tips, I’d say:
- Don’t change the gauge on this. It’s too much of a pain just to go up one needle size.
- I really like the look of stockinette stitch, so I don’t regret making that change. But even with the garter border, the edges roll a little (especially the bottom edge). I almost wish I had followed the instructions for honeycomb stitch, or had at least stuck with my first alternate, garter stitch.
- I’m really glad I did the sleeves the way I did. (If you hate knitting on dpn, then I recommend following the original pattern directions. I actually love using dpn.) Plus, the new sleeve length is perfect for Munchkin.
I would absolutely recommend this pattern to anyone who wants to make an adorable baby sweater, regardless of skill level–it’s a pretty simple pattern (when you don’t mess with it). If you like my changes, go ahead and mix them in. And if you ever have questions about adapting a pattern so that it works better for you, email me!
What a cutie! I love this pattern so much, and Munchkin wears it well 🙂