

Love the look of multi-colored knits but hate knitting stranded colorwork? Me. Too. I enjoy stranded colorwork for about five minutes before my yarn starts tangling, and I can never keep the tension right as I carry the yarn across the back of the work.
Is the solution to stick to solid colors, variegated yarn, or horizontal stripes?
Nope.
Those all work, but mosaic knitting is another option. The great thing about mosaic knitting is that even though you are using two colors (and, yes, your yarn can still get tangled), you’re only using one color in any given row. Way easier.
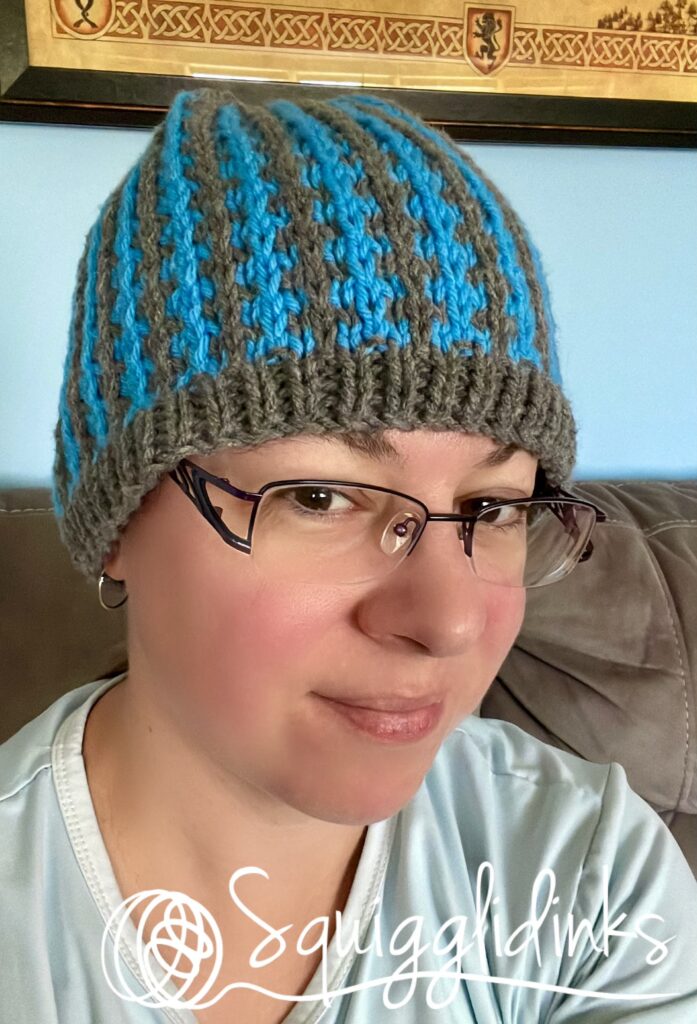
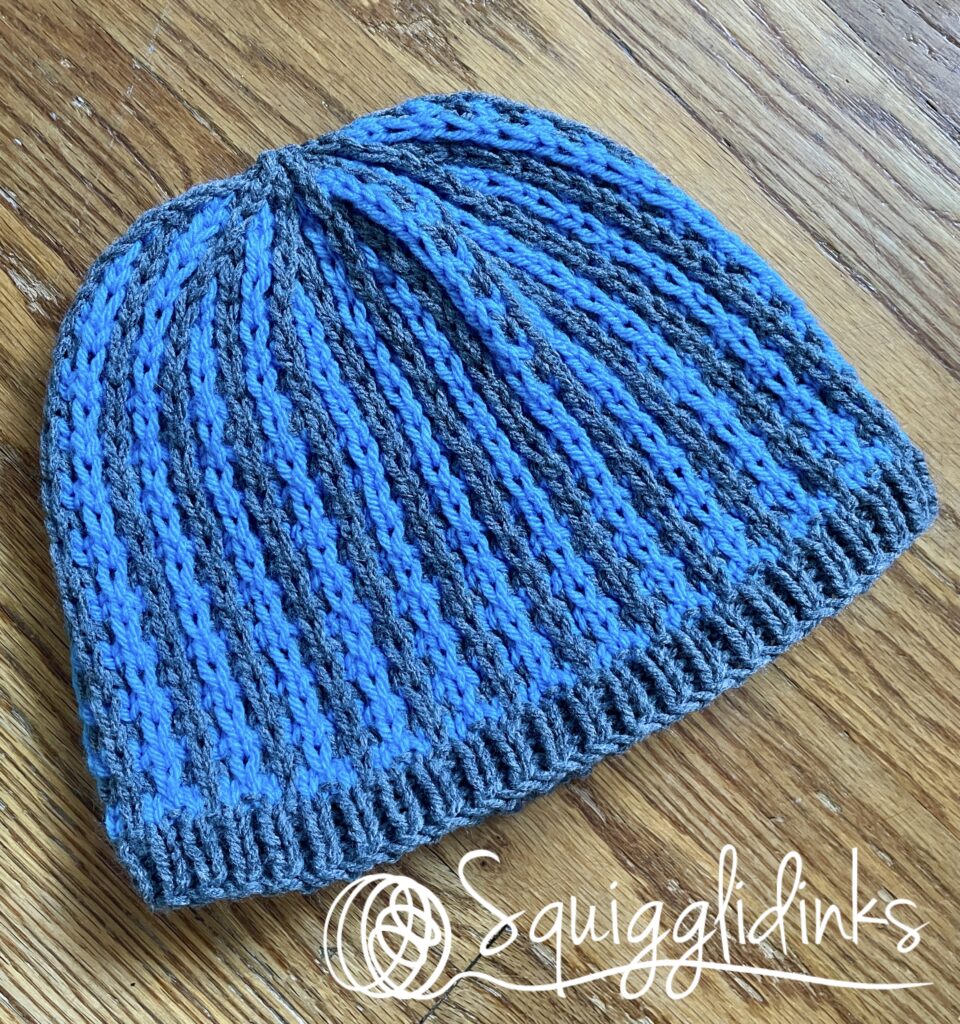
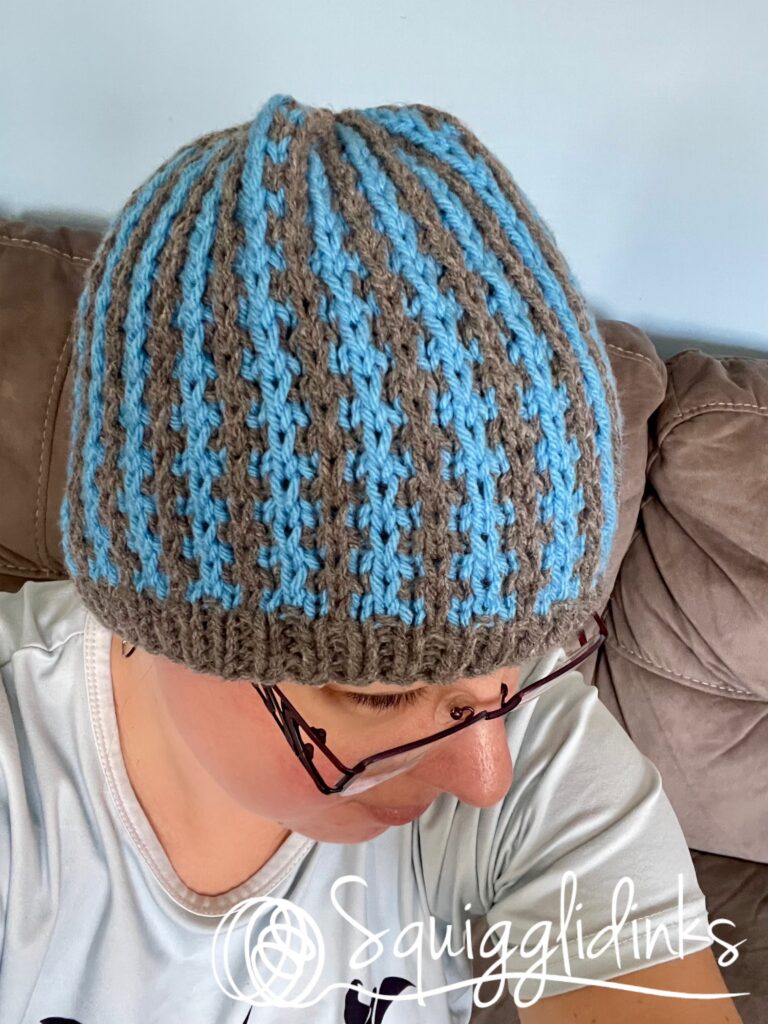
Since hats are my favorite way to play with a new stitch pattern or technique, I’m kind of surprised I haven’t made a mosaic hat before. But the time has come! Enter the Briar Hat, a super simple pattern (4-row repeat) for both child/teen and adult sizes. Its name comes from the kind of spiky look of the vertical stripes. (I picture the forest of briars that grows up to guard Sleeping Beauty’s castle.) The mosaic stitch pattern is really stretchy, so each size fits a wide range.
Needles: US Size 9 (5.5mm), 9” circular; US Size 9 (5.5mm) double pointed needles for decreases.
Yarns used: Loops and Threads Impeccable (worsted (4); 100% acrylic; 285 yards/127.5g), 1 skein each in Rich Orchid and Black (child size sample). (Adult size sample uses Clear Blue and Pale Gray.)
Yardage: about 200 yards (about 100g).
Gauge: 5 sts per inch and 7 rows per inch in stitch pattern.
Other Notions: 1 stitch marker to mark beginning of round; yarn needle for finishing.
Final Measurements:
Child/Teen: 19 inches (48.25cm)
Adult: 20 inches (50.8cm). (This stitch pattern is very stretchy.)
Pattern is written child (adult), with child size first and adult size following in parentheses.
Pattern:
Brim and setup:
Using color 1, cast on 88 (96) sts. Place stitch marker and join into a round, being careful not to twist your stitches.
First 4 rounds: k1, p1, repeat to end.
Round 5 (color 2): *k1, p1, k1, sl1p, repeat from * to end.
Round 6 (color 2): *k3, sl1p, repeat from * to end.
Stitch pattern:
Rounds 7 & 8 (color 1): k1, *sl1p, k3, repeat from * to last 3 sts, sl1p, k2.
Rounds 9 & 10 (color 2): *k3, sl1p, repeat from * to end.
Repeat Rounds 7-10 a total of 7 (9) times, or until there are 34 (42) rounds from cast-on edge.
Repeat Rounds 7-9.
Decreasing (switch to double pointed needles when stitches get too tight on circular needles):
Decrease 1 (on a Round 10, the second round of color 2): *k3, sl1p, k2, sl2p, repeat from * to end.
Decrease 2 (color 1): *k1, sl1p, k3, sl1p, k2tog, repeat from * to end.
Decrease 3 (color 1): *k1, sl1p, k3, k2tog, repeat from * to end.
Decrease 4 (color 2): *k3, sl1p, k1, sl1p, repeat from * to end.
Decrease 5 (color 2): *k3, sl3p, repeat from * to end.
Decrease 6 (color 1): *k1, sl1p, k2, k2tog, repeat from * to end.
Decrease 7 (color 1): *k1, sl1p, k1, k2tog, repeat from * to end.
Decrease 8 (color 2): *k3, sl1p, repeat from * to end.
Decrease 9 (color 2): *k2, sl2p, repeat from * to end.
Decrease 10 (color 1 for all final rounds): *k1, sl1p, k2tog, repeat from * to end.
Decrease 11: *k1, k2tog, repeat from * to end.
Decrease 12: k2tog, repeat to end.
Decrease 13: k2tog, repeat to end.
Cut 6 inch (15cm) tail. Thread through remaining stitches and pull tight. Sew all ends under.