
Years ago I was in a yarn shop near Lancaster, PA, and I saw an intricate Fair Isle hat knit with two colors of ombre yarn. The colors shifted and changed throughout the hat beautifully and played against each other in such interesting ways. I couldn’t help thinking (and I still do, in a way) that if I could knit a hat like that, I would have made it as a designer. That’s the benchmark in my mind. I wish I could describe it better, and I really wish I had taken a picture. (Of course, that was back before my phone had a decent camera, and I never carried a real camera with me.)
This hat is a simpler version of that idea. If you’ve never knit with two colors of yarn, there are some great tutorials out there (including this video from Brome Fields). The color pattern is written as a chart that repeats every 10 stitches. (The round numbers are written on the side of the chart—if you’re new to following charts, you start at the bottom, since you knit from the bottom up.) I used stitch markers to mark where the pattern repeated—I used one large, unique, special one (shaped like a Harry Potter chocolate frog) to mark the start of every round and ordinary white circles to mark every 10 stitches so that I wouldn’t have to count as much.
 |
| This was my first hat, so the fade is different than the final version, but you can see where I used all of the stitch markers. |
I used Lion Brand Scarfie yarn, which has beautiful ombres. A couple of things here: first, a big shout out of thanks to Lion Brand for providing yarn support for this project, which means that they provided me the yarn for free to design this hat, and I am extremely grateful. That said, all opinions expressed are still 100% my own. I love the feel of Scarfie—it’s incredibly soft, and I loved working with it. The only downside for me was that it’s skeined really loosely because it’s a fluffy 1-ply, and the skeins just kind of fell apart.

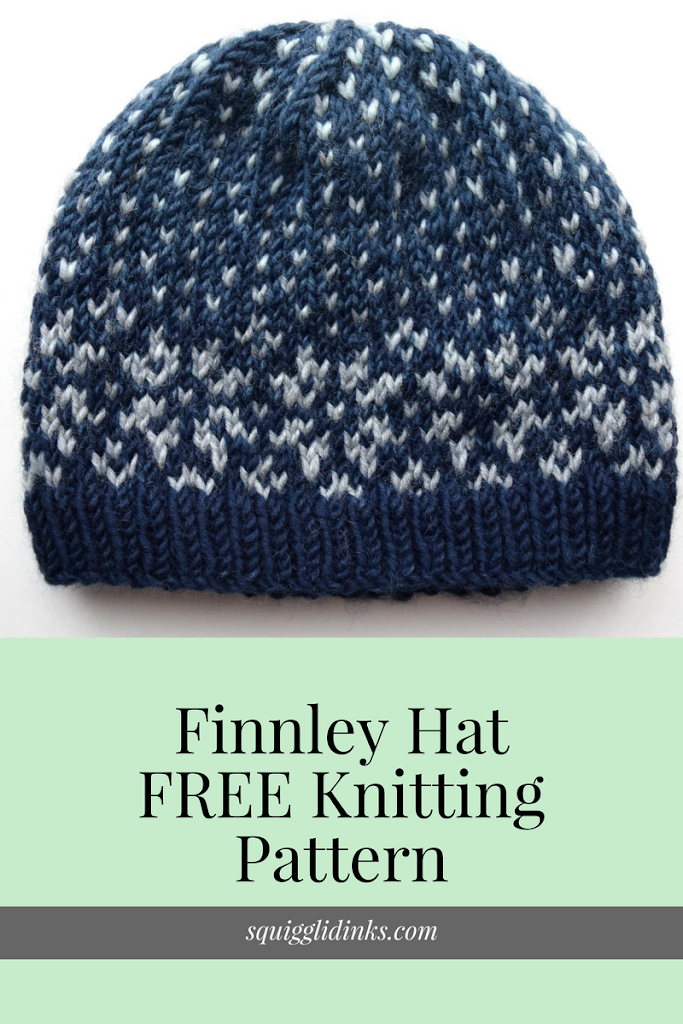
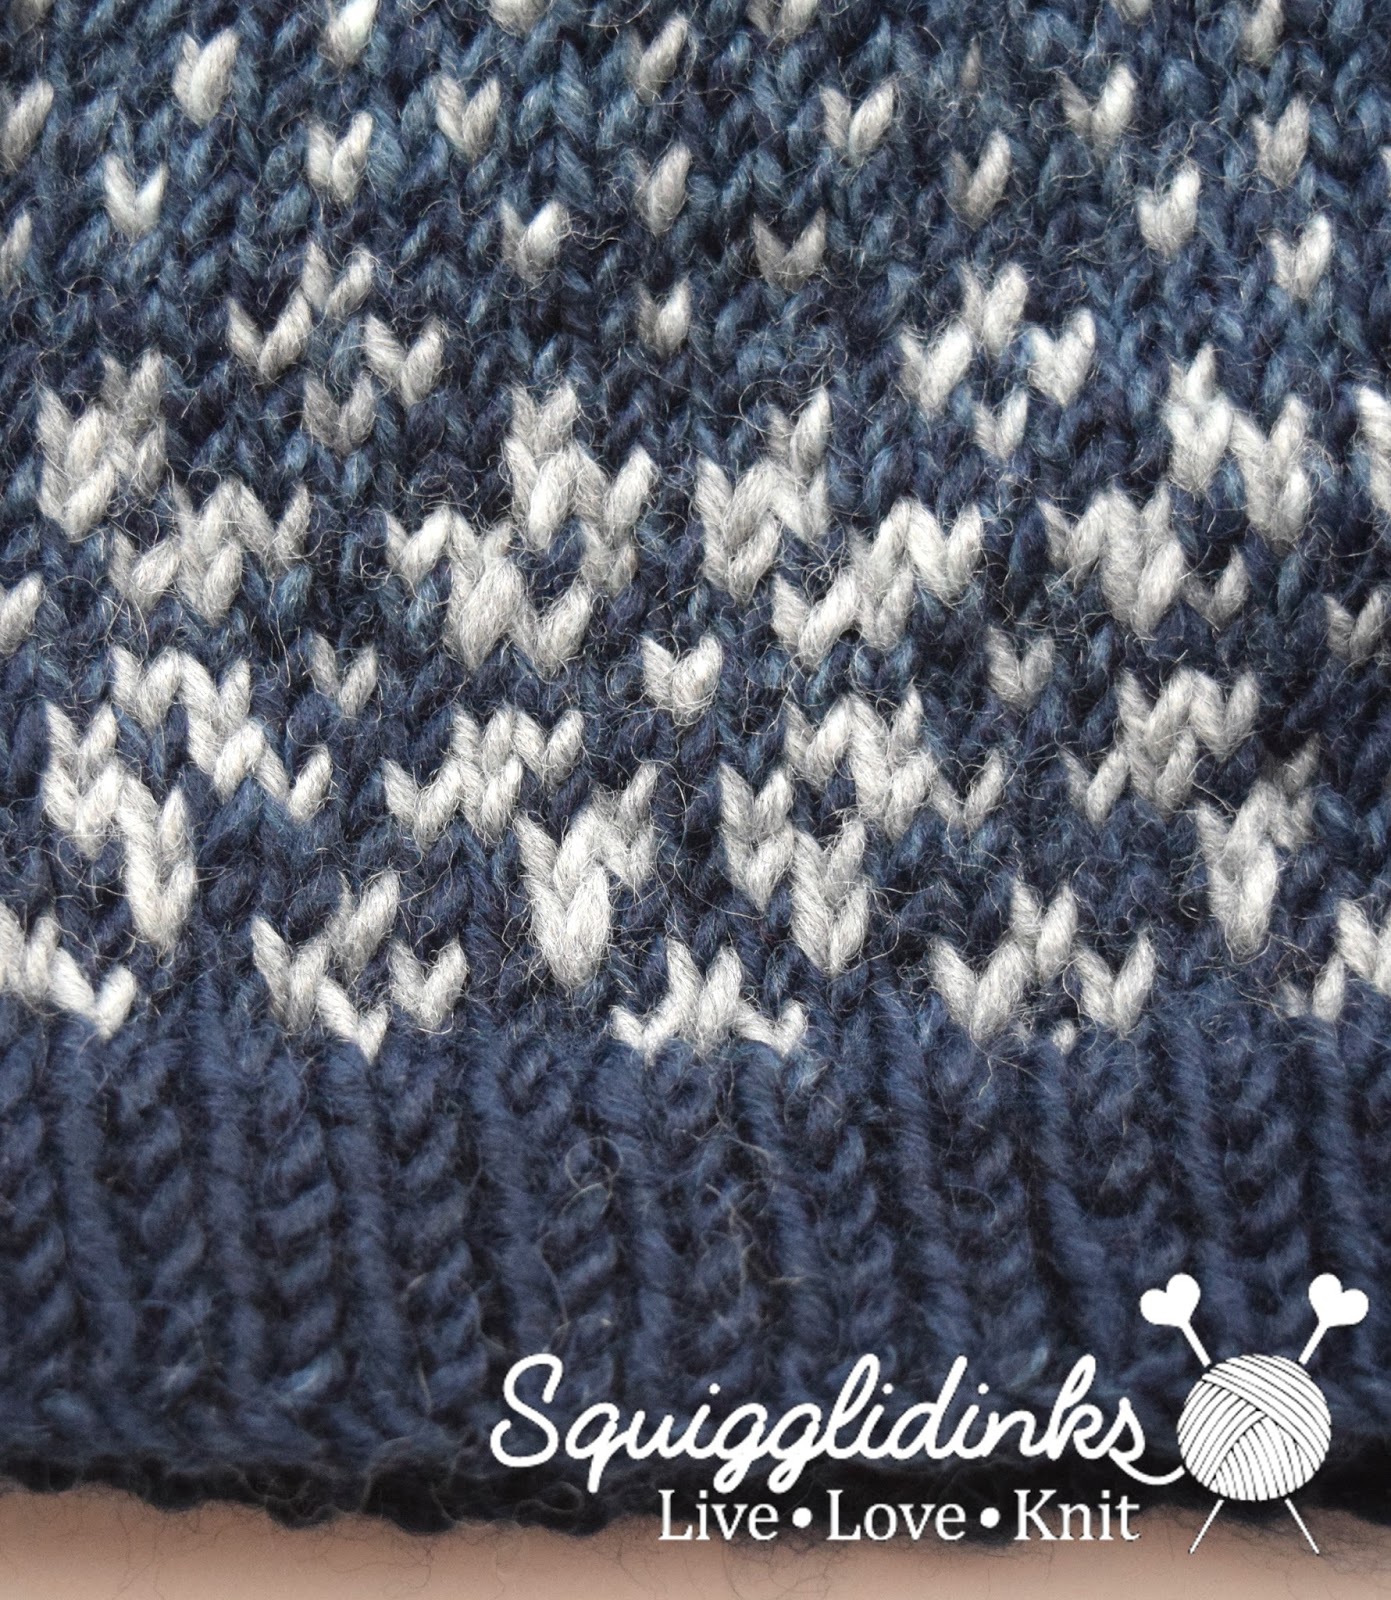
But now it’s designer confession time: I messed up. I totally chose the wrong colors to show off the ombre fading of this gorgeous yarn. I chose the Navy/Denim and the Mint/Silver thinking about how pretty they’d look for Fair Isle, but not really thinking about how subtle the fades were. You can barely tell in the photos that the snowflakes are silver just above the ribbing and fade to mint at the top of the hat, and the photos don’t show off the navy-to-denim fade much better. Scarfie comes in more dramatic color combos; I wish I had chosen one of them at least for my Color 2.

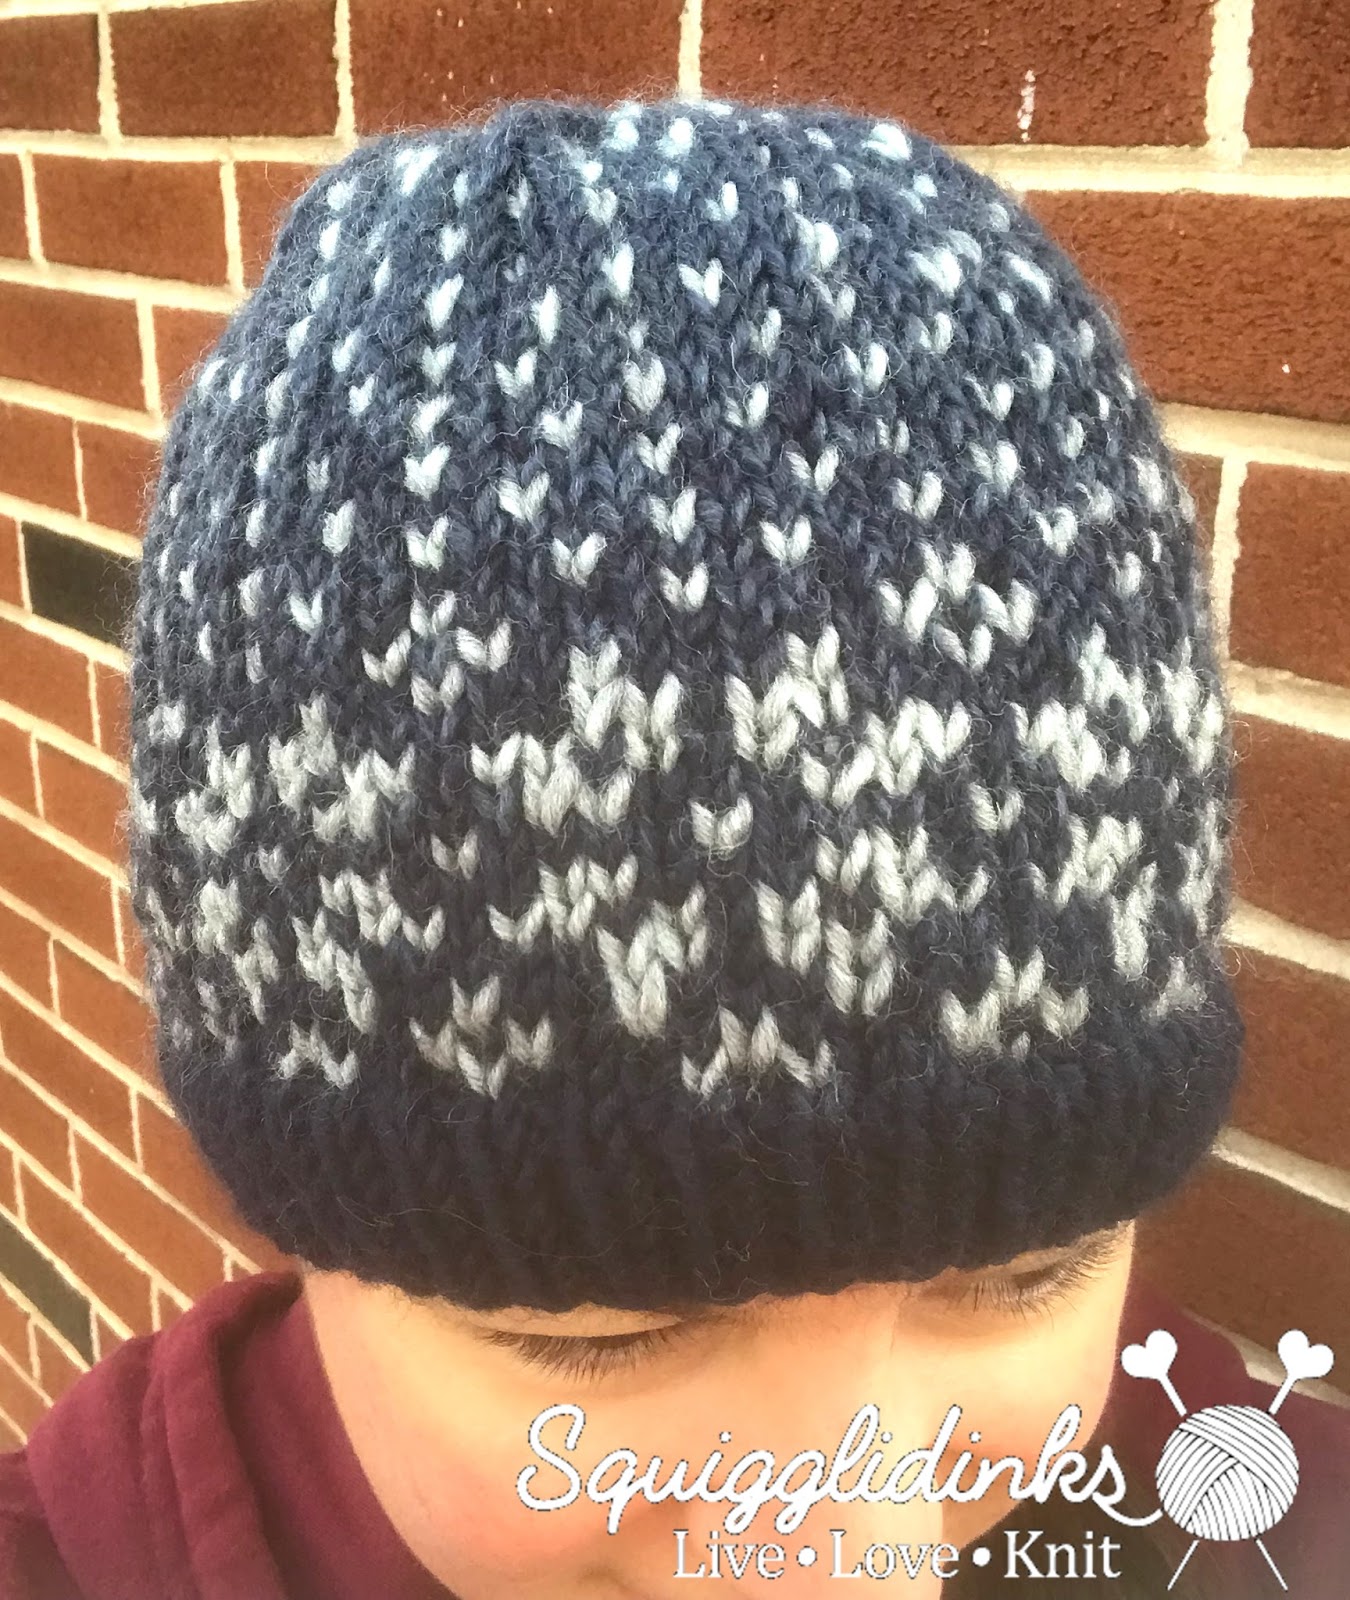
Speaking of Color 2—if you want a full fade from one color to the second from the bottom to the top of the hat (as mine did from silver to mint) in the adult size, you’ll want to start with your yarn in the middle of one of the solid colors. If you start at the beginning of a solid section or in a fade section, you probably won’t make it fully between colors. If you would rather have a more dramatic fade happen during the big bottom snowflakes, feel free to start wherever you like (at the end of a solid section/beginning of the fade section, for instance) so that you get mostly fade.
This pattern is also available as an inexpensive, ad-free, printable PDF from Ravelry.
Things you’ll need:
- Lion Brand Scarfie Yarn in 2 colors (You can make multiple hats from two skeins of Scarfie. I made two hats and had plenty left over for at least one more that I haven’t made yet.)
- Color 1: Denim/Navy, 1 skein
- Color 2: Mint/Silver, 1 skein
- Size 9 circular knitting needles, 16 inches
- Size 9 double pointed needles (optional – I didn’t use these)
- Stitch markers – I used about 10 of them. I used 1 special, unique marker and the rest were boring, ordinary ones
- Yarn needle
Skills you’ll need:
- The basics: casting on, knit and purl stitches
- Knitting in the round on circular needles
- Knitting with two colors – there’s a good video tutorial here if this is new to you
Gauge: 17 sts per 4 inches
Sizes: Child/Teen (Adult, Large Adult)
Using circular needles, cast on 80 (90, 100) sts in Color 1. Join into a circle, making sure you don’t twist your stitches. Place marker (the special one).
First 6 rounds: k1, p1, repeat to end
Next 13 rounds: Follow the color chart below, repeat to end. (The rounds are numbered along the side.) Place a marker every 10 stitches as you go so that you can keep track more easily of where the chart repeats.

Next 8 (12, 16) rounds: Follow the color chart below, repeat to end. Knit this color chart all the way through 2 (3, 4) times. (Your stitch markers should still help you keep your place.)

Decreases: Follow the chart below for the colors and decreases. Remember that any squares that are grayed out mean that there are no longer stitches there to be counted – we’ve decreased them away. (If you have dpns, feel free to switch to them whenever your stitches feel too tight on your circular needles.)

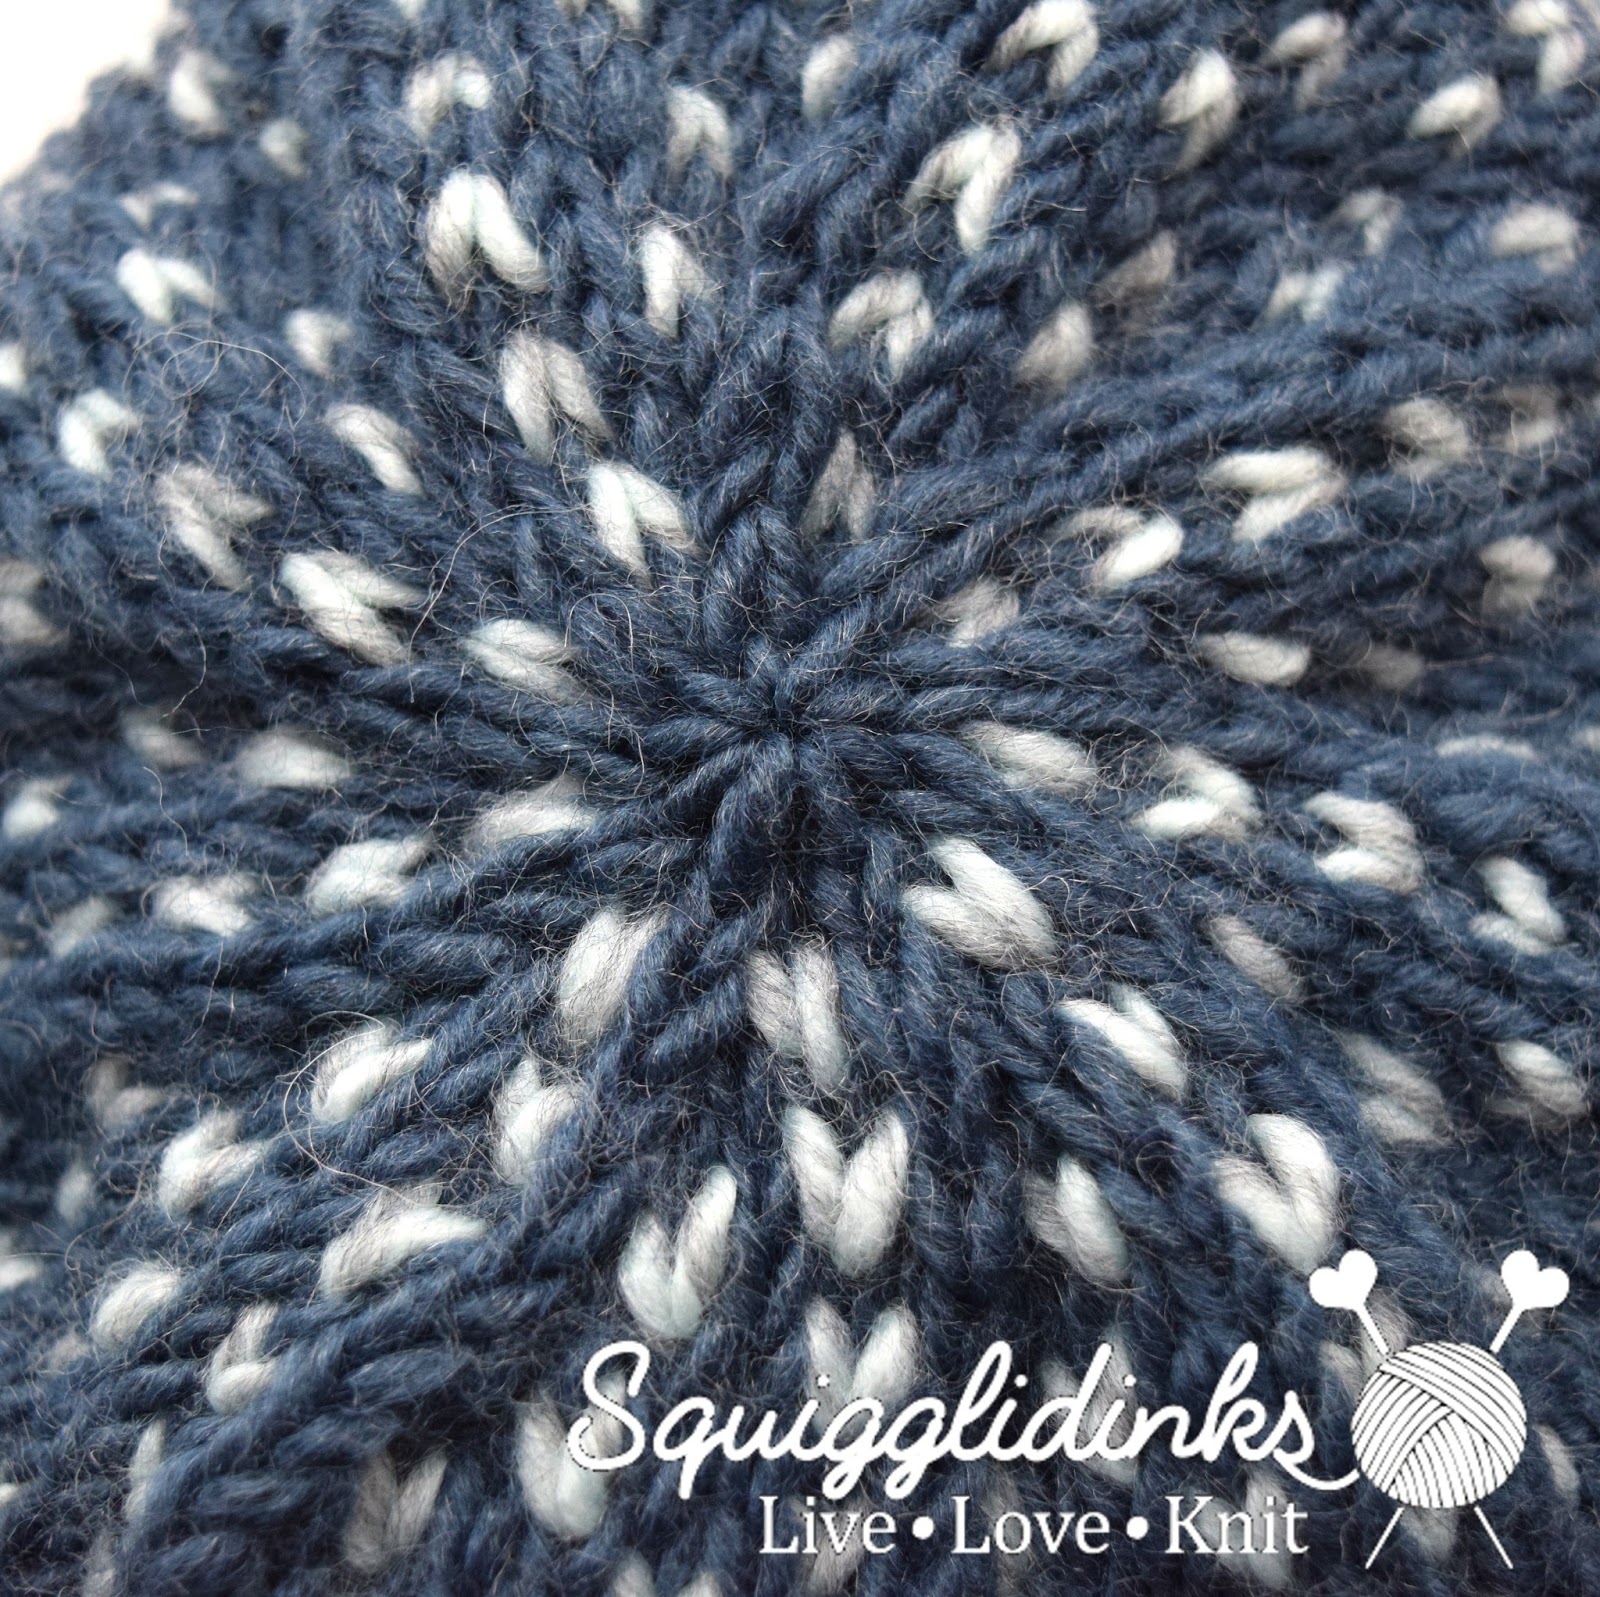
Cut the yarn 6 inches from the last stitch. Using yarn needle, thread tail through remaining stitches on needle. Pull snug. Sew all ends under.
[…] Finnley Hat by me […]
Est ce que ce serait possible version french
Merci beaucoup