
Do you ever have an idea months or years in advance for a gift you might make for someone given a certain eventuality? Maybe the perfect wedding gift for a friend/relative who’s not even engaged yet, or a Christmas gift that will be perfect for someone, someday? I have a few gift plans like that, in particular, ideas for baby gifts for friends who are nowhere-near-pregnant.
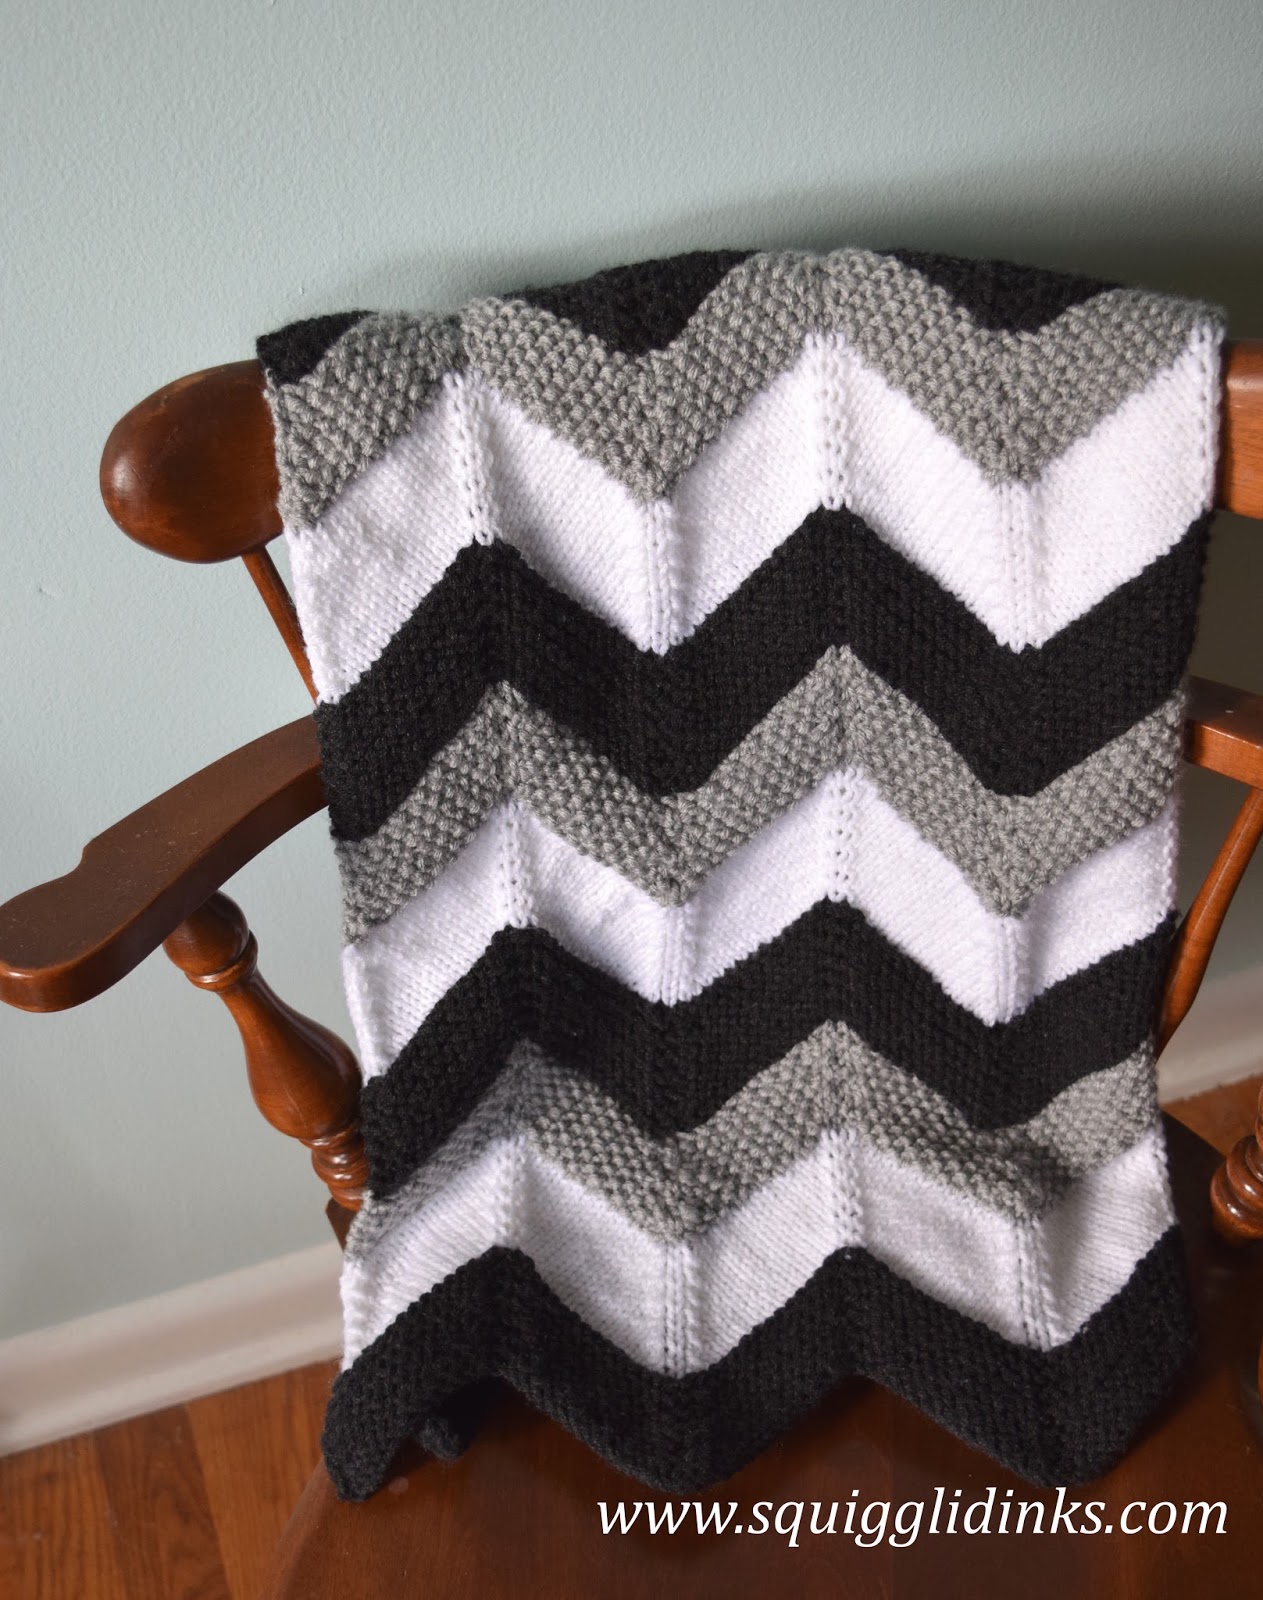
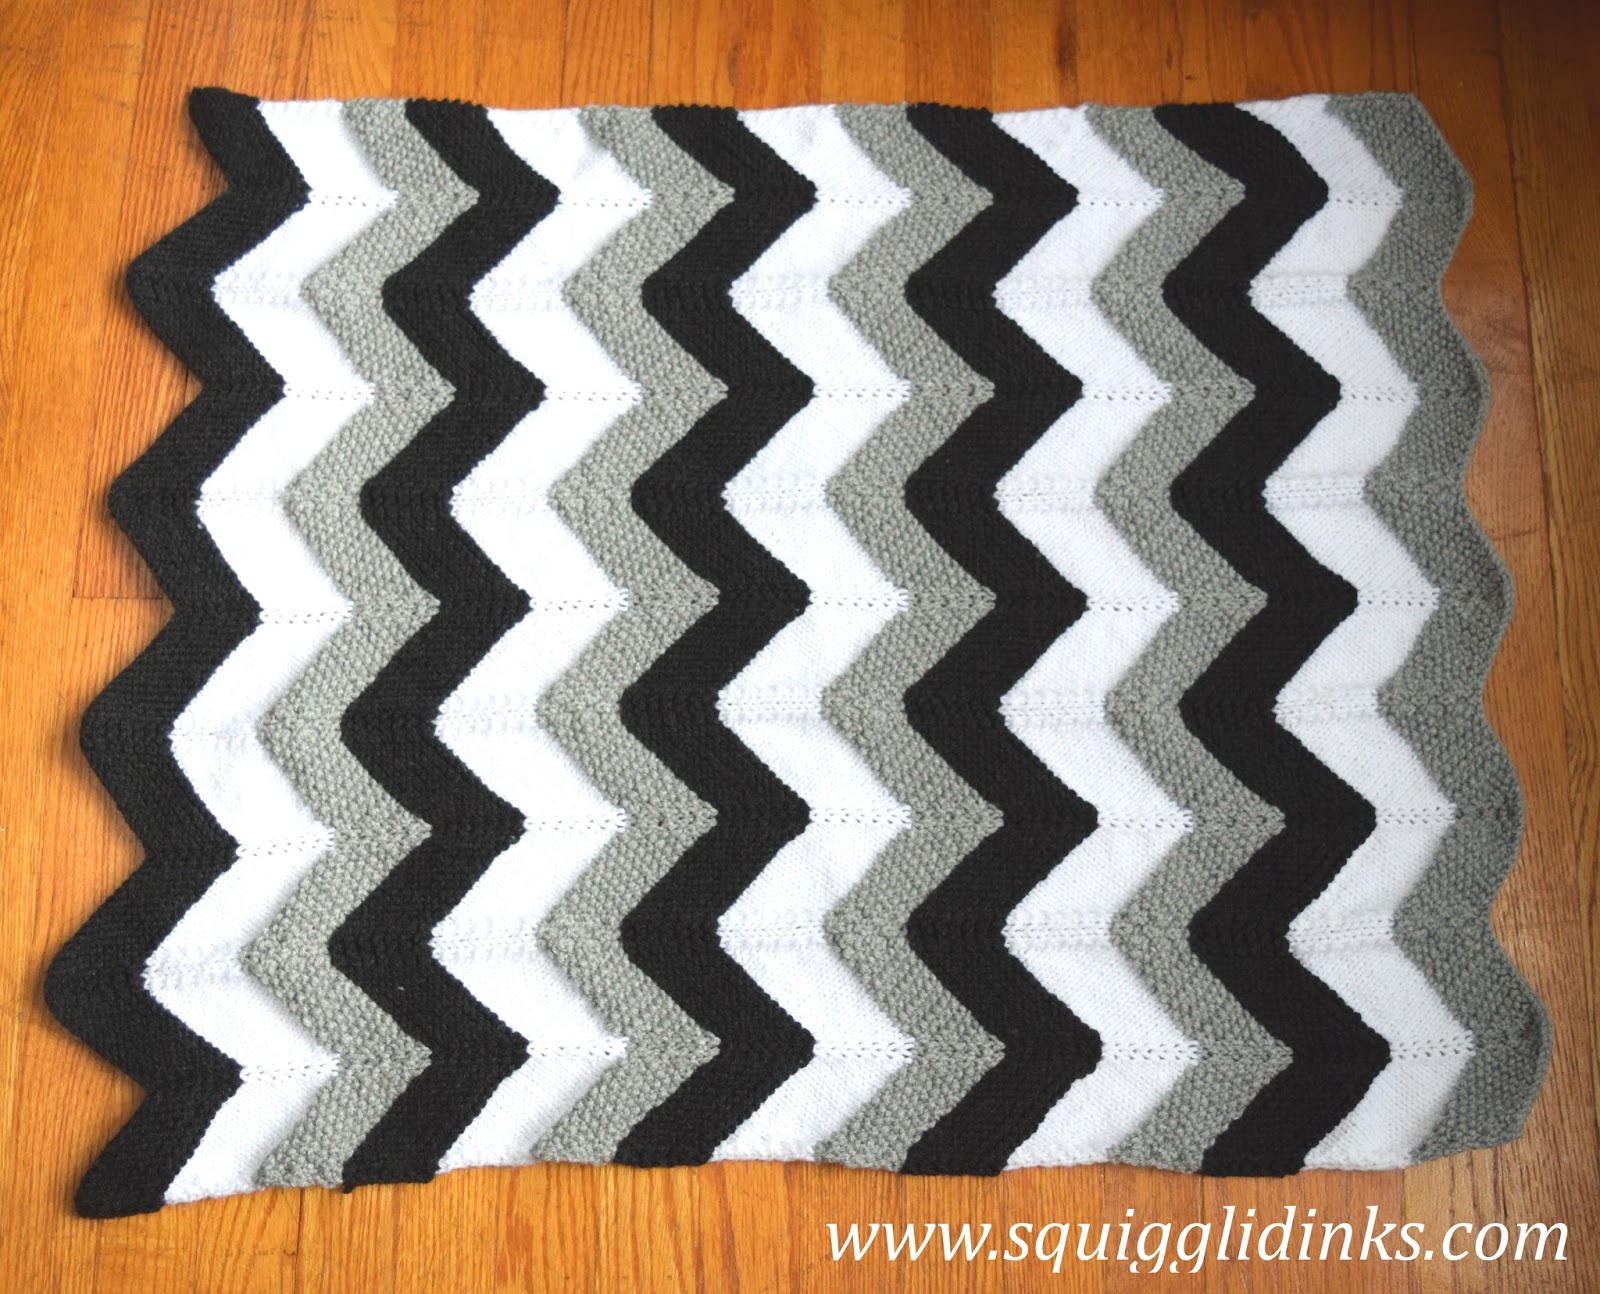
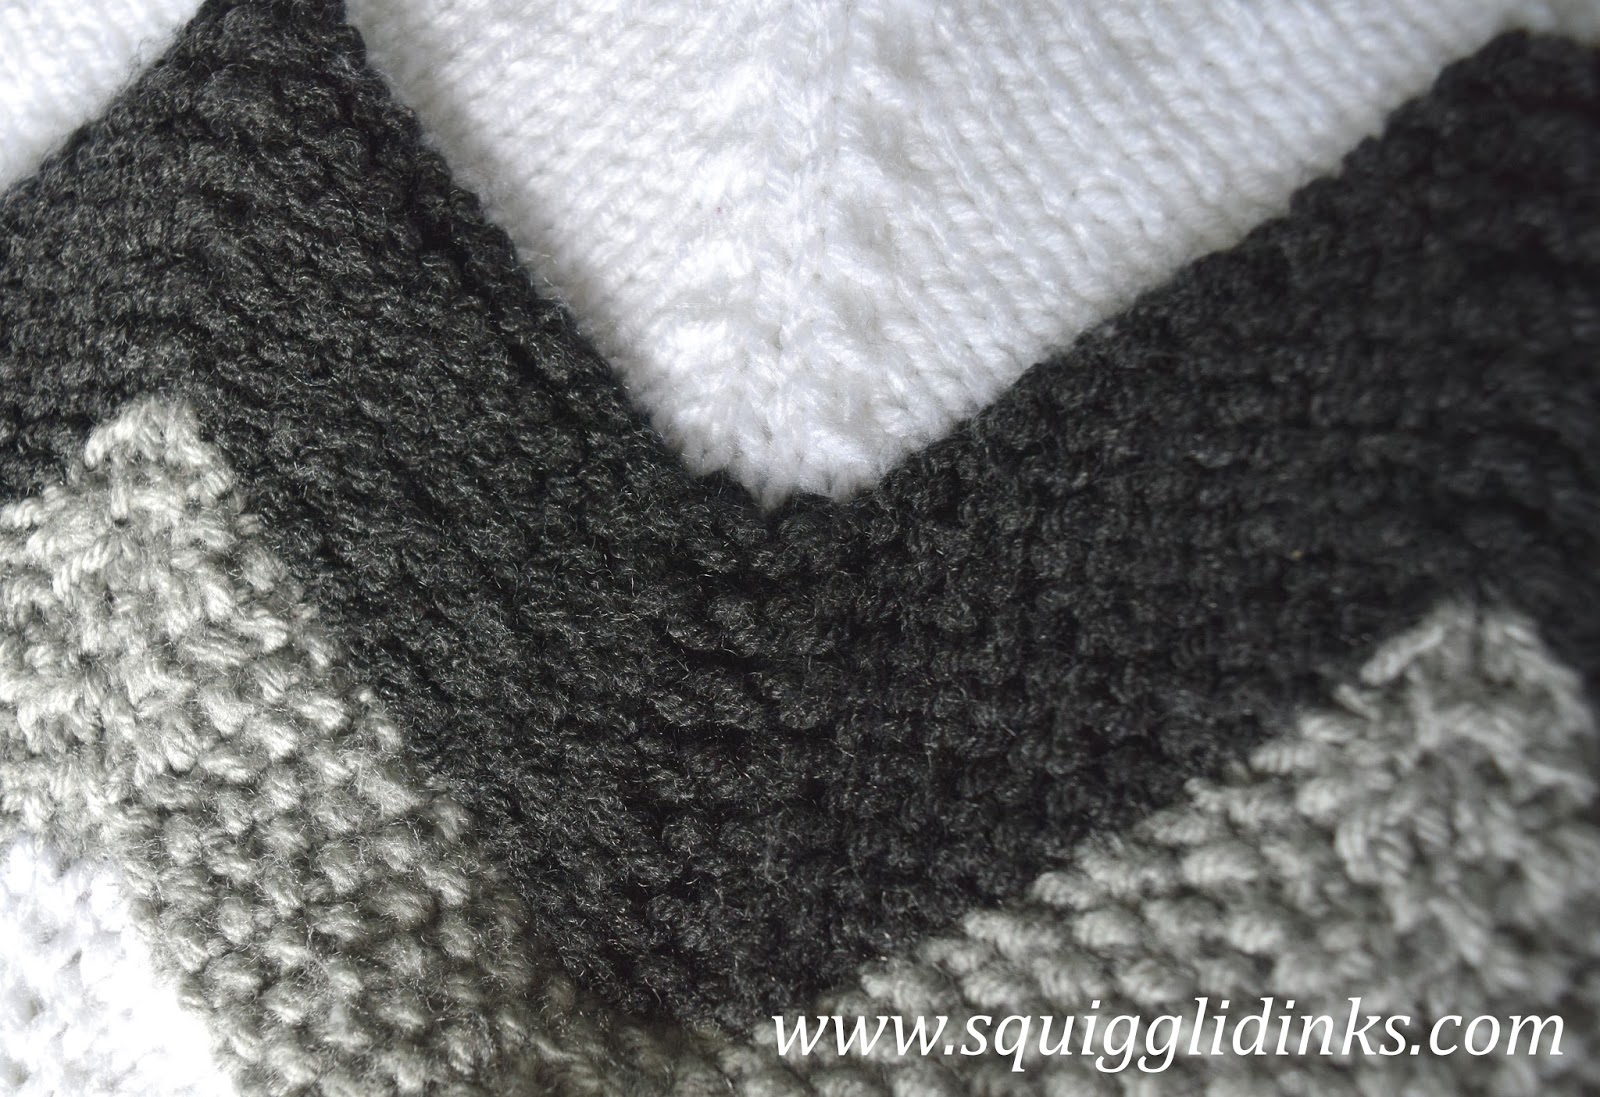
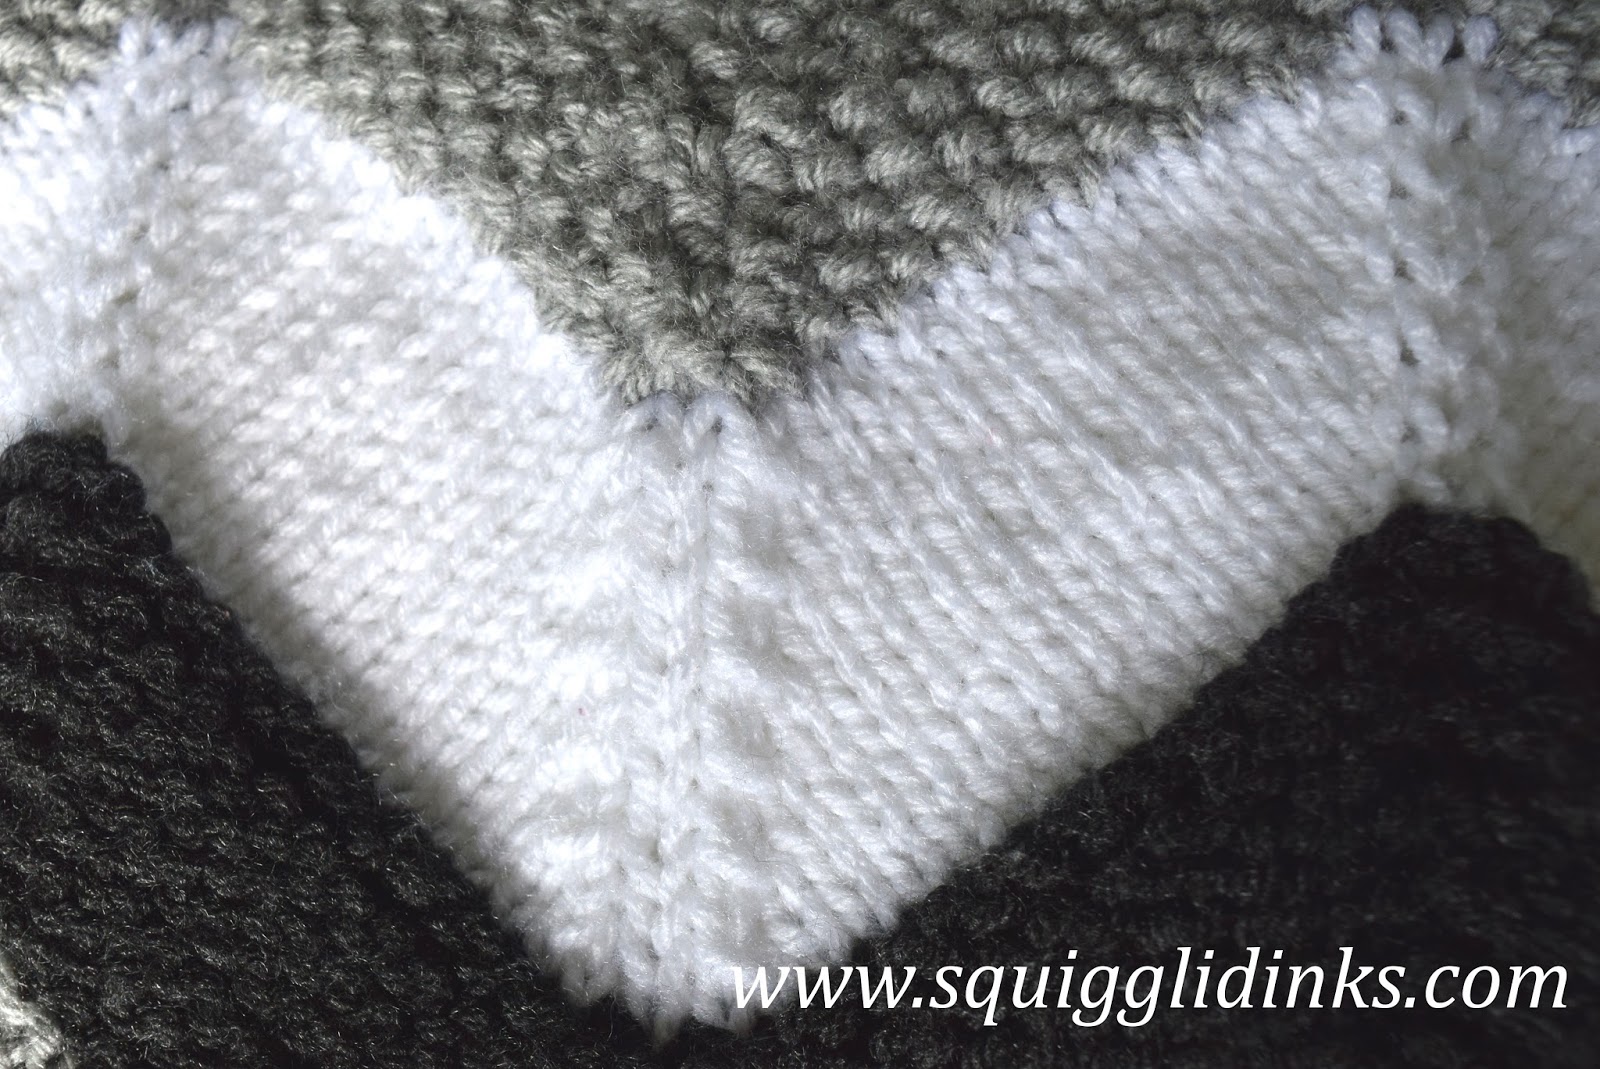
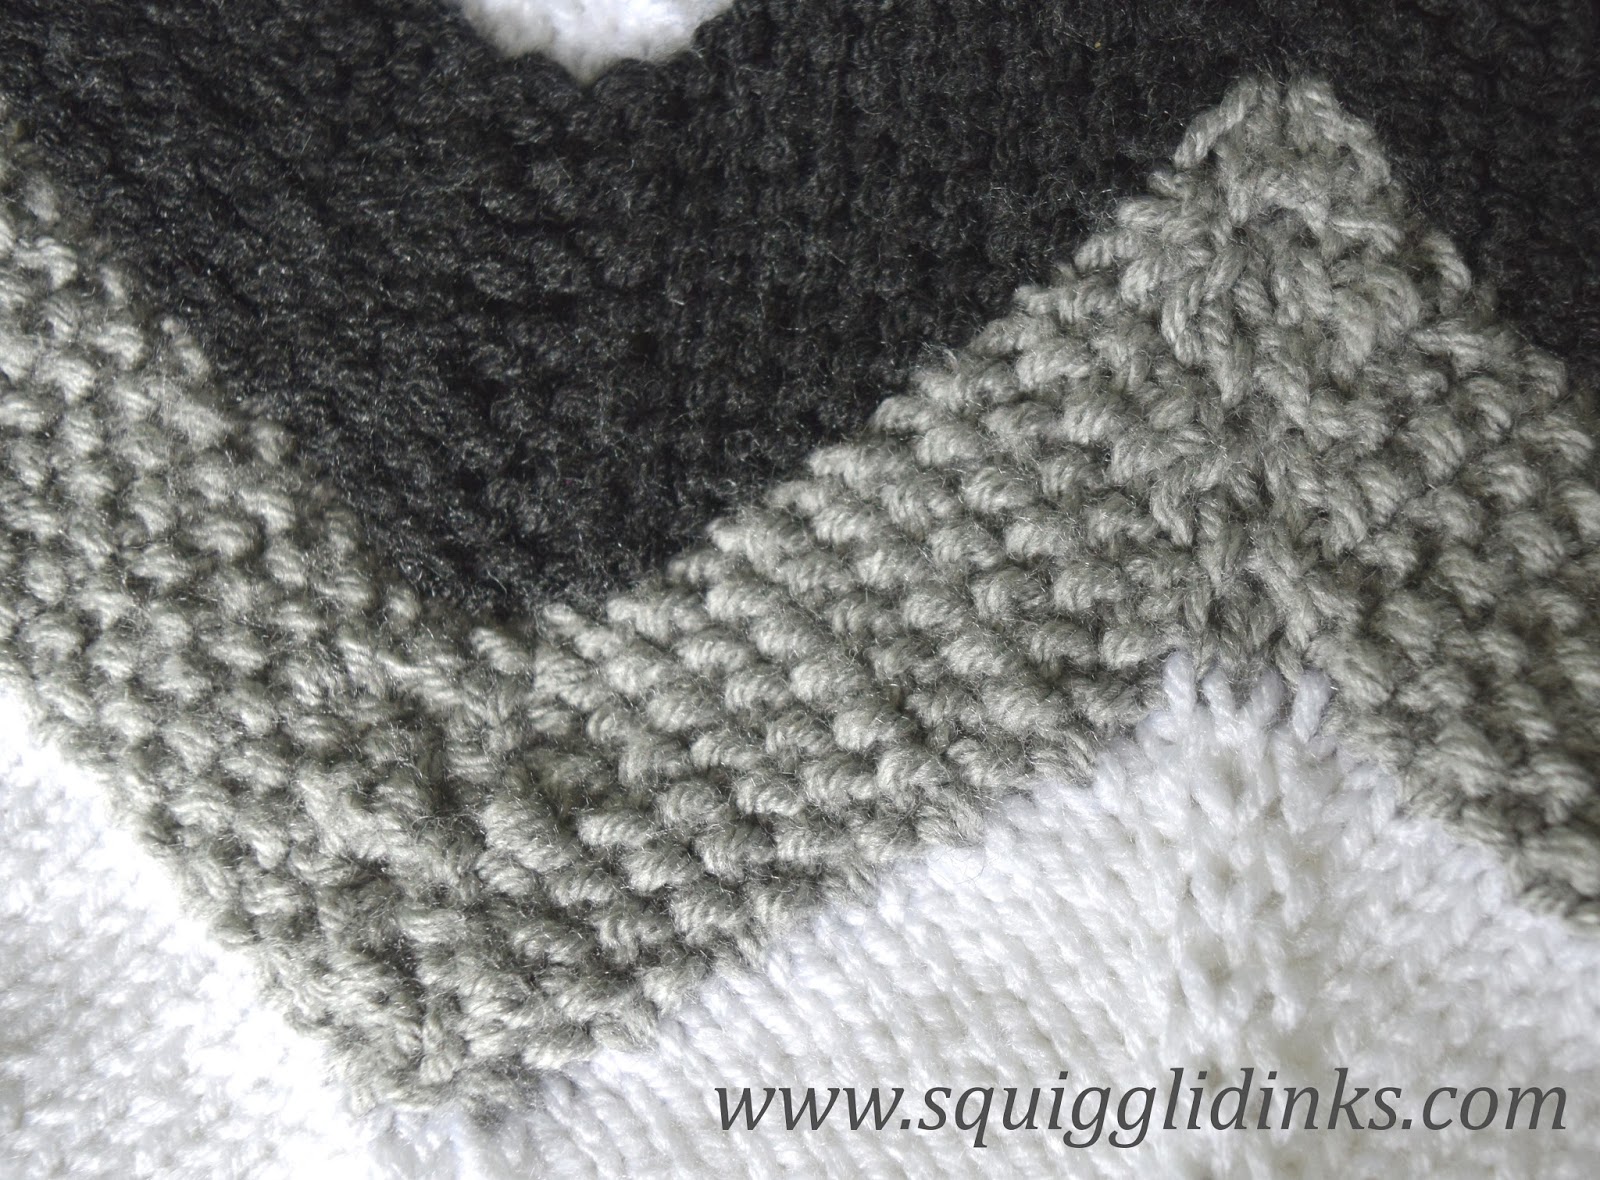
Then, after I heard the good news and bought the yarn, I saw a few of her Pinterest boards and realized that a lot of the nursery idea pins she was saving had gray chevrons. I wanted to combine the textured stripes of the first pattern with the chevrons. It took a little work to figure out how to make seed stitch chevrons work, but I think it turned out well. It ended up looking a bit like snowy mountains (hence the name).
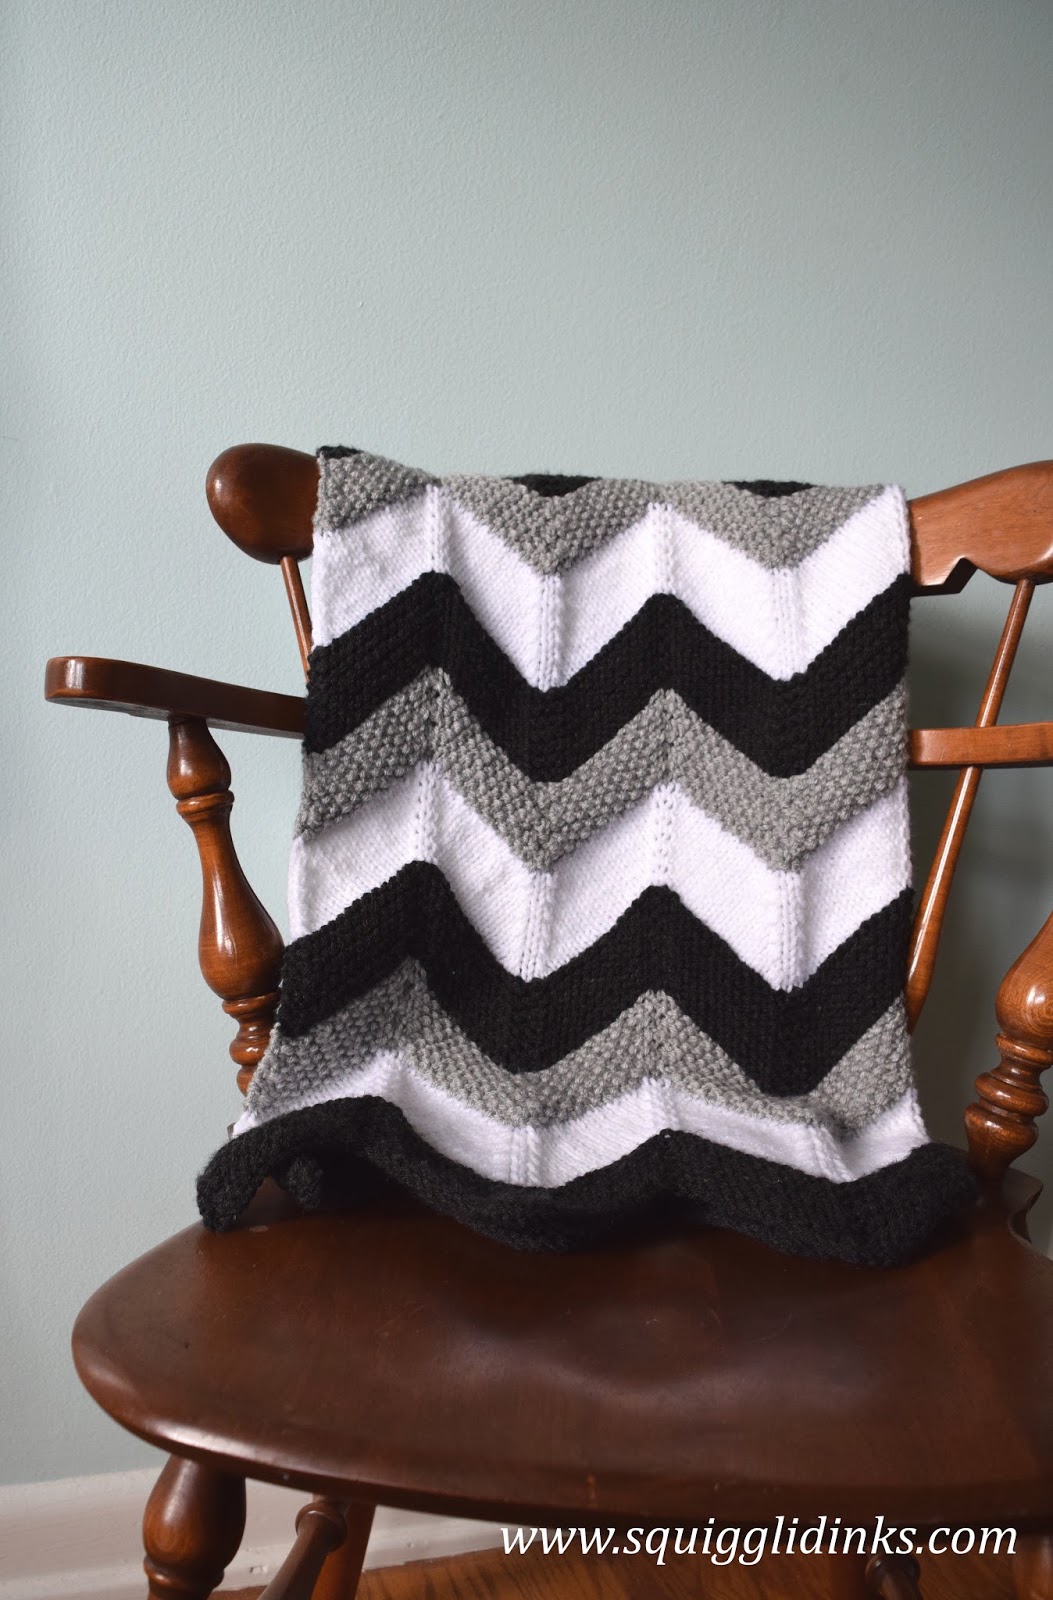
We’re still waiting for her little one to arrive, but the blanket is ready to go when he does!
Things you need:
- Size 8 circular needles (anything longer than 16”) – You’ll be knitting the blanket flat, but you need the length to hold all the stitches.
- Big Twist Serenity yarn (worsted weight) from JoAnn Fabric in 3 colors – I used Charcoal, White, and Light Gray, 1 skein (322 yds) each.
- Stitch Markers – I used 9 for this size, but if you’re making a bigger blanket, you’ll need more.
Skills you need:
- Knit and purl stitches
- Knit 2 together (k2tog)
- Purl 2 together (p2tog)
- Slip slip knit (ssk)
- Make 1 increases (m1 and m1r)
Abbreviations:
The pattern:
Variations:
- Non-textured – If you like the chevrons but not the different stitch patterns used for each stripe, cast on as directed and place markers, but purl that first row instead of knitting. Then follow the instructions for Color 2 throughout the whole blanket, changing colors every 14 rows.
- Non-chevron – If you like the textured stripes but not the chevrons, try this: cast on as directed but don’t knit the first row or place markers. Then follow these instructions:
- Color 1: Knit all rows.
- Color 2: Knit first row, purl second row. Repeat these 2 rows for 13 rows, ending with a knit row.
- Color 3: Purl first row. Next 13 rows: k1, p1, repeat to end.
- You can also use thicker yarn/larger needles to get a larger size, or you can cast on a multiple of 30 stitches +1 more to get the right number of stitches for your desired width. (It will end up slightly narrower because of the chevrons than if you were to knit it straight across.)
[…] still love the texture and chevron combo of the Himalaya Blanket that I made for my friend’s little boy back in 2017. It was a lot of the same increases and […]
What size is the blanket? Stroller or crib size? Any measurements you have would be helpful :).
Thanks!
It was approximately 36 inches by 36 inches. 🙂
Question: are the “sm” instructions in the right spots? I end up having to sm and then m1 instead. Should the 16 stitches be marked at the end of the first knit row instead if at the beginning? That puts those 16 sts at the beginning of Row 1, which matches the instructions.
Hi Susan, thanks for your question. You definitely should m1 BEFORE slipping the marker–otherwise the marker won’t be in the right place for the next RS row and the shaping of the zigzags will get thrown off. If you want to hold off on placing markers until the first shaping row you can, but it will be more confusing if they’re not already in place. The beginning of Row 1 is actually 15 stitches: k1, 2 sts in the k2tog, and then k12. Because you’re decreasing with the k2tog, you need to increase with the m1 before the marker to keep the number of stitches in that section the same. Let me know if you have any further questions!
Thank you, Eliza, but it still doesn’t make sense. I understand how the decrease from k2tog needs to be made up with m1, but as you explained, row 1 begins with 15 stitches and then the marker appears. Knitting 1 and then knitting 2 together create 2 stitches from 3, and then 12 more stitches are knitted. Fifteen stitches created 14 stitches, but that didn’t change the marker. My brain wants the pattern to read, “remove marker, m1, place marker.” Do more experienced chevron knitters just know to move that marker? Am I being a bonehead?
If that’s the best way for you to read the pattern, please read it that way. For me, I follow all the steps to get to those 14 stitches, with the marker as the next thing on the left needle, and I m1 right there before slipping the marker. But if that doesn’t work for you, you can absolutely remove the marker, then m1, then put it back. Quick question, though: when you m1, are you pulling up yarn from the gap between the stitches, or are you somehow using the next stitch as you increase? You can see the way I m1 here, which is what I’m recommending for the pattern. The m1 doesn’t use any of the stitches on the left needle and isn’t counted in the 15 stitches (except to make up for the 1 stitch lost in the k2tog). Hope that helps!
I do pull up the yarn from the gap for the m1. Your tutorial helped, plus one I watched on YouTube. Last night I started over and made peace with removing the marker, knitting the m1, and then replacing it. I guess I’ll be able to tell once I’m well into it whether I’m doing it correctly. Thank you for your help; I appreciate the time you take to explain things and offer support.
Cue palm-slap to forehead: I finally got it! Last night I “forgot” to remove marker before m1 and realized I was doing what the pattern says. Don’t know why it took me so long, but I’m blaming it on 2020. Thank you again for your patience and help, and for designing a beautiful pattern.
I’m so glad you like it and that it’s working out for you!