
*This post may contain affiliate links.*

Have you ever been intimidated by cables?
I have.
Don’t get me wrong, I totally love them. I love how they look. I love knitting them.
But when it came to knitting them into a hat, the thought of figuring out the decreases was just too much, so I never did.
Then one of my pattern testers for the most versatile hat pattern (available for free if you sign up for my email newsletter) mentioned trying a cable version. I thought I saw the same hesitation in her that I felt myself.
I decided that I needed to try it, to dive right in and work it out, and then to share the pattern.
And you know what? After the initial math, it wasn’t as hard as I thought. Here’s the pattern so you can try it too.
This pattern is also available as an inexpensive, ad-free, printable PDF file.
(Click here to buy it now.)
(Click here to buy it now.)
What you need:
- Size 8 circular needles (9” for infant/toddler sizes, 16”for child/adult/lg. adult)
- Size 8 double pointed needles (dpn)
- Cable needle (optional)
- 1 skein of Caron Simply Soft (or another worsted weight yarn)
I like Simply Soft because it’s soft, durable, machine washable, and there are no dye lots. Unfortunately, the color I used is discontinued. (I had some left over from a sweater I made years ago.) - 2 stitch markers
Skills you need:
-
- Knit stitch and purl stitch
- K2tog
- Knitting in the round on circular needles
- Knitting in the round on double-pointed needles
- Cables
- How to “cable 4” – Slip two stitches from the left needle onto a cable needle or dpn; hold in back of work. Knit next two stitches. Knit stitches from cable needle.
- Here’s a video how-to:
Gauge: 4.5 sts per inch
Sizes are written Infant (Toddler, Child/Teen, Adult, Large Adult)
CO 72 (82, 90, 100, 108) sts. Place marker at the beginning of the row.
First 5 rows: k1, p1, repeat to end
Row 6 (for Toddler and Adult sizes): k1, p1, repeat to 2 from end, k2tog
Row 6 (for Infant, Child/Teen, and Large Adult sizes): k1, p1, repeat to end
Rows 7-13 (all sizes): p1, k3, p1, k4, repeat to end
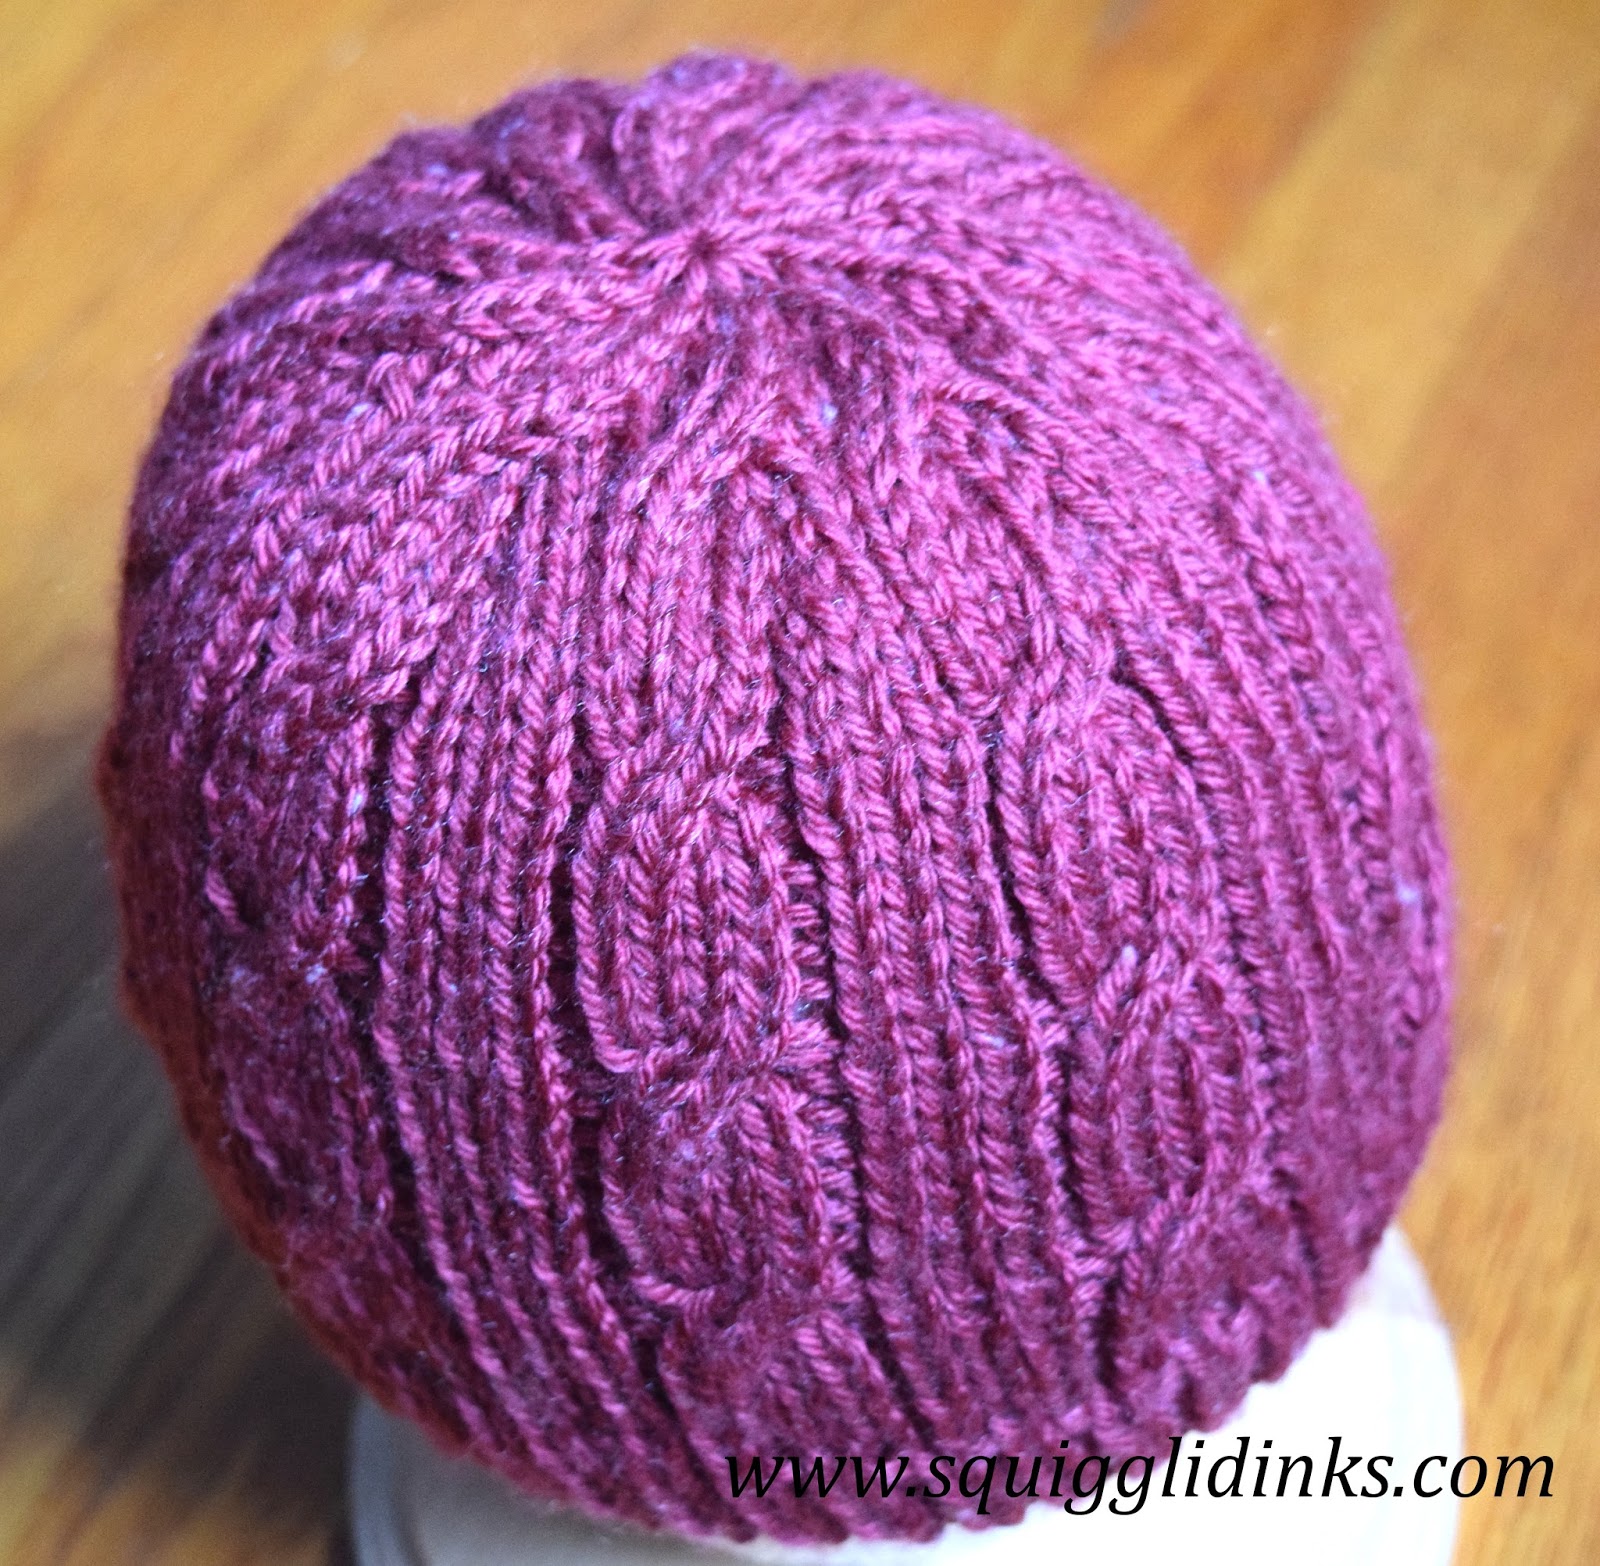
Row 14: p1, k3, p1, cable 4, repeat to end
Repeat these 8 rows 1 (1, 2, 2, 3) more time(s), so that you have a total of 2 (2, 3, 3, 4) cable twists.
Next 4 rows: p1, k3, p1, k4 repeat to end

Decrease rows:
Switch to using double pointed needles whenever you have too few stitches to continue on circular needles.
Row 1: p1, k3, k2tog, k3, repeat to end
Row 2: p1, k7, repeat to end
Row 3: p1, k2, k2tog, k3, repeat to end
Row 4: p1, k2, cable 4, repeat to end
Row 5: p1, k1, k2tog, k3, repeat to end
Row 6: p1, k5, repeat to end
Row 7: p1, k2tog, *k3, p1, k2tog, repeat from * to last 3 sts, place marker
(This marker is the new beginning of the row.)
Row 8: k3, remove old marker, k2tog, repeat to marker
Row 9: k2, k2tog, repeat to marker
Row 10: k1, k2tog, repeat to marker
Row 11: k2tog, repeat to marker
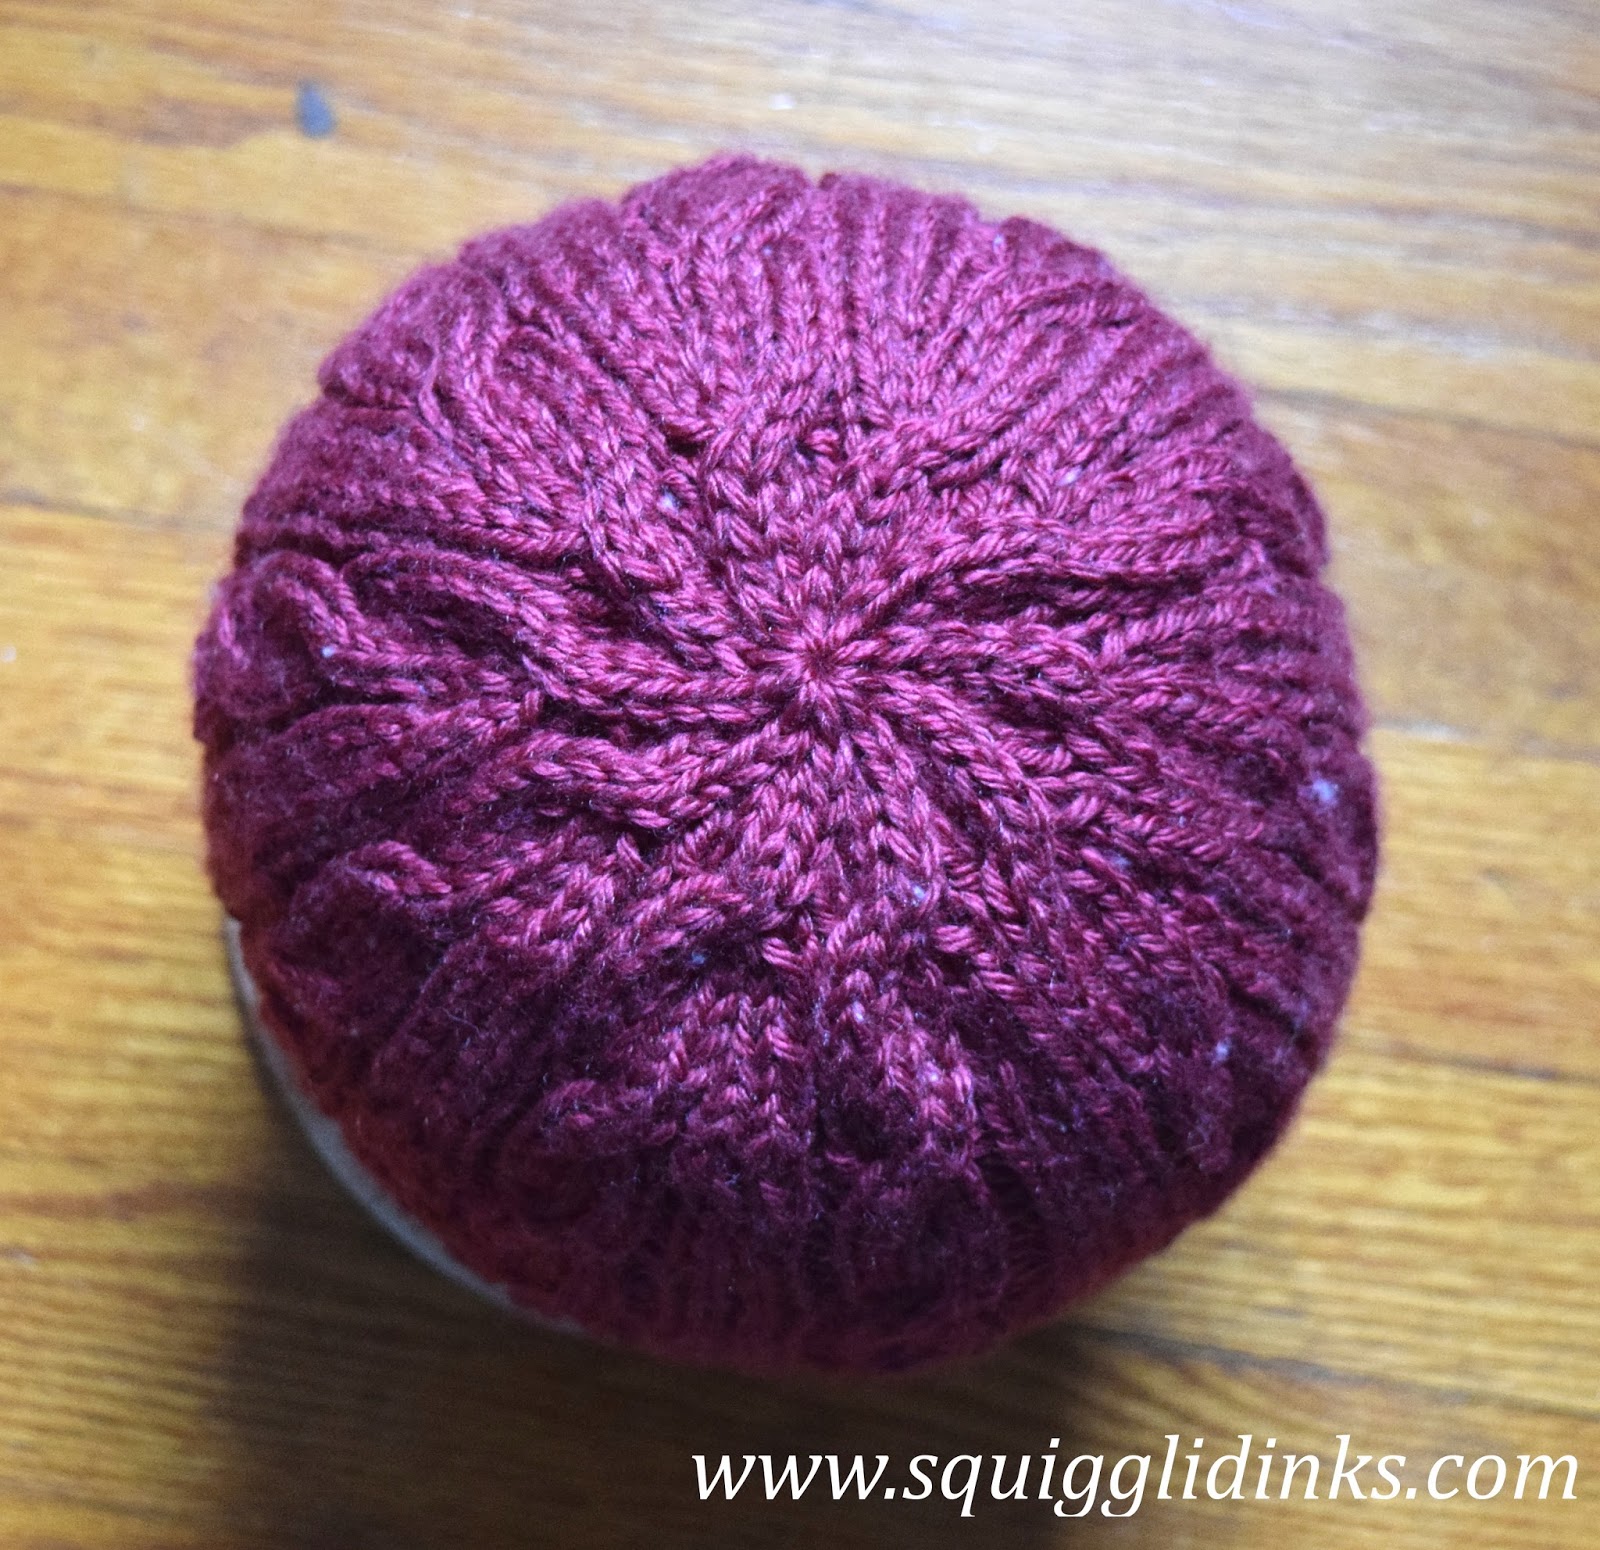
Cut yarn 6 inches from needles. Thread tail through stitches on needles; pull snug. Finish by sewing ends under.
Have you ever tried knitting something that seemed too complicated at first? How did it go?
I’d love to hear your thoughts on the pattern – tell me in the comments!