
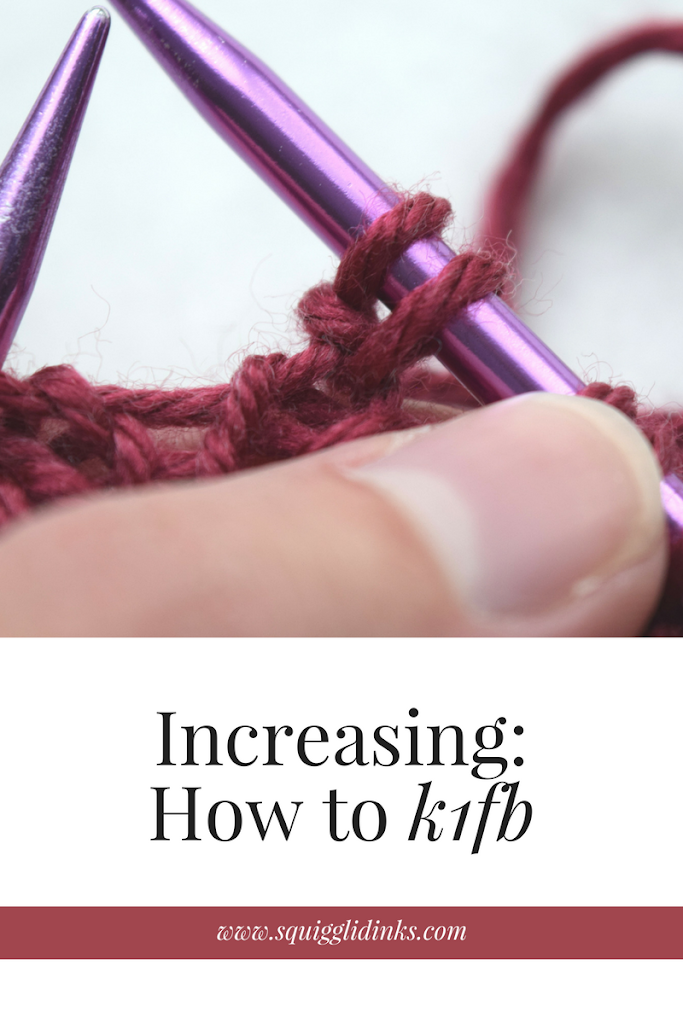
Knit one in front and back (k1fb) is a common increase stitch, and it’s really easy once you get the hang of it.
You start by knitting the stitch as you normally would (through the front loop, or the part of the stitch that is in front of the needle), but you do NOT slide it off the left needle.
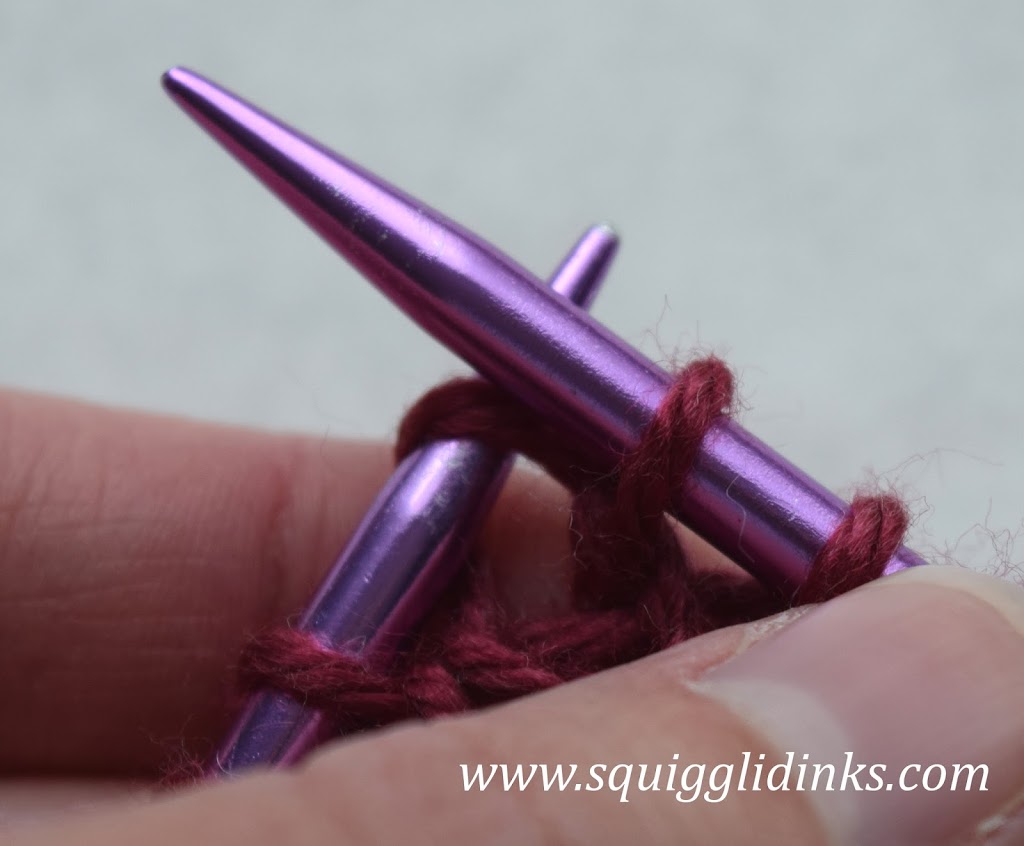 |
| Knit one stitch as normal but DON’T slide it off of the left needle. |
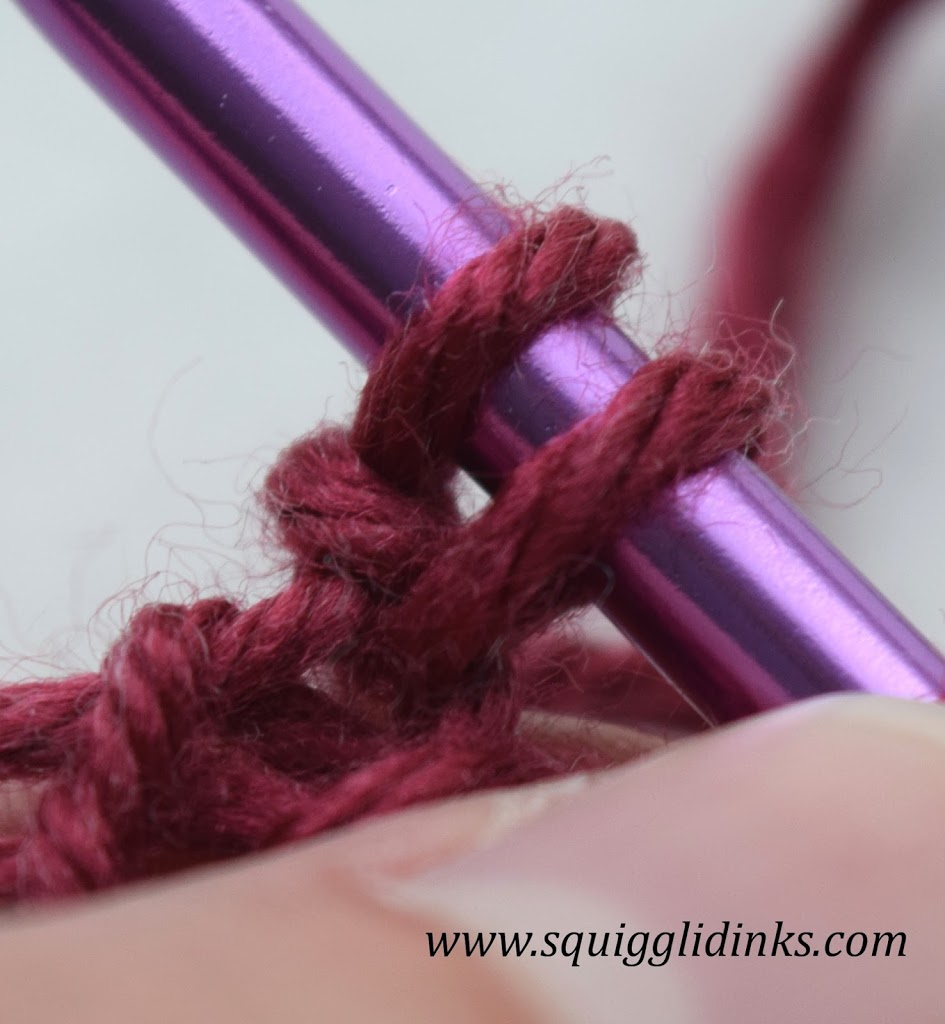
Instead, locate the back loop of the stitch, or the part of the stitch that is behind the needle.
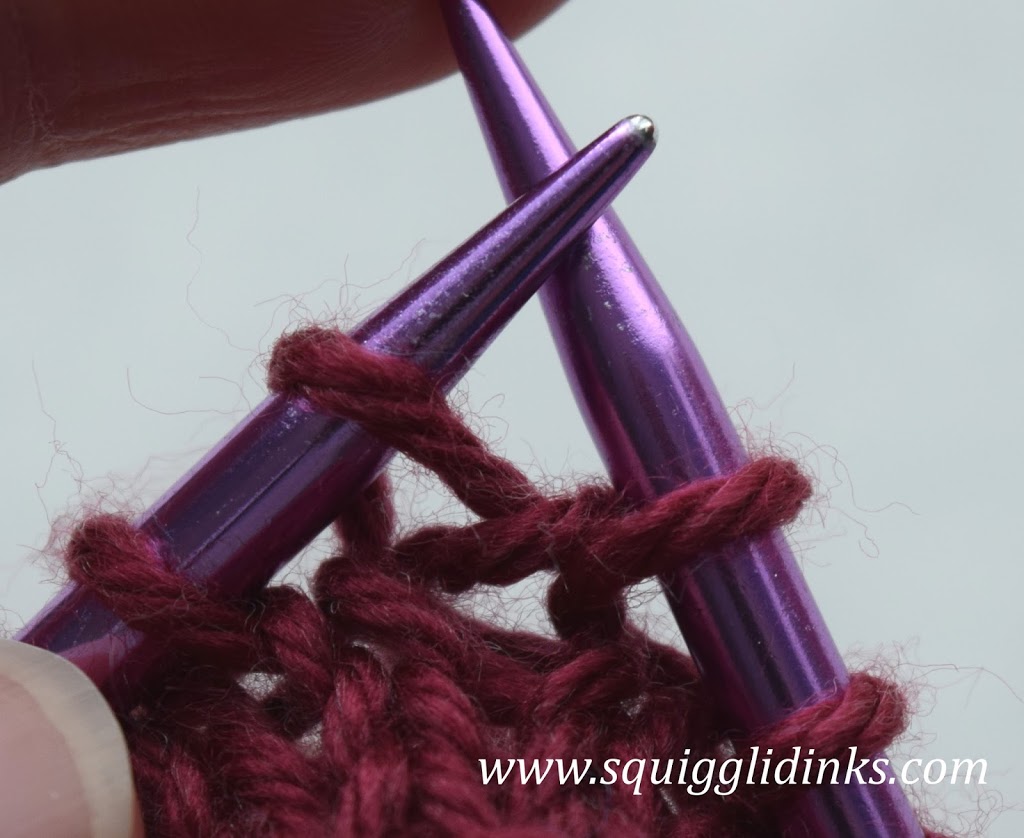 |
| The front loop of the first stitch on the left needle is the part of the stitch that goes in front of the needle (and a little to the right). The back loop is the part of the stitch that goes behind the needle (and a little to the left). |
Now slip the tip of your right needle up through that back loop. (This will mean diving your needle over the front loop, which you’ve just knit into, and down into the middle of the stitch so that you can come up through the back loop.)
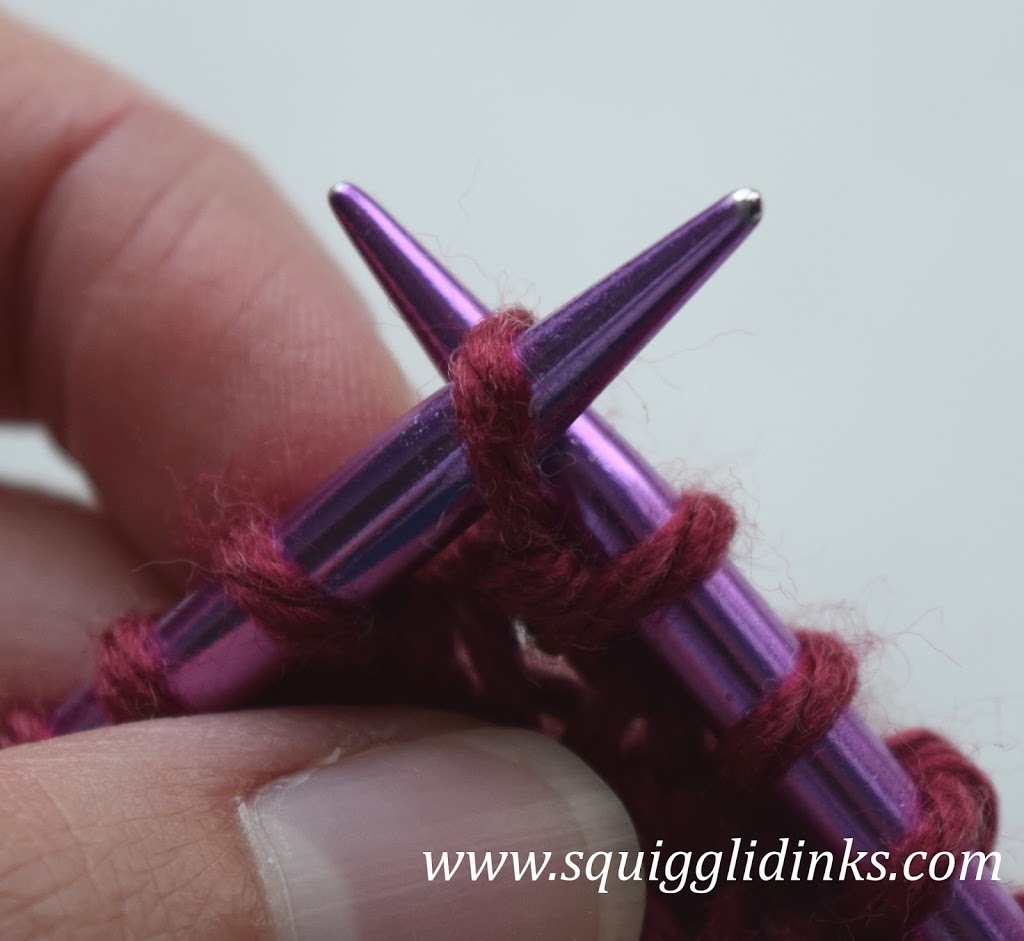 |
| Dive the right needle over the front loop and up through the back loop. Knit as you would a normal stitch. |
Knit the stitch and slide it off the left needle.
You should now have two stitches where there was only one.
I wasn’t able to make a video tutorial of this stitch yet due to the demands of two toddlers (Munchkin has started walking, so I guess he counts as a toddler now), but here’s a video from newstitchaday.com on YouTube where he covers the steps of the stitch pretty clearly.
Keep practicing, and happy making!